List and filter targets
To list and filter the targets provisioned for the subscription in which you are currently operating, open the Targets UI feature from the left navigation.
By default, it opens the List view of the sub-navigation. Open and close the sub-navigation at your convenience.
If you do not have any provisioned targets yet, refer to Device provisioning to learn how to provision some.
List targets
By default, the rightmost view called Targets displays the complete list of targets, with specific details such as Name, Description, etc.
To access and display further target details on the list, see View target details.

Filter targets
You can filter the list of targets through the Target filter view in the middle, where you can select one of your existing filters or create a new one.
When the list is filtered, this is indicated by a blue chip on top of the list, specifying the applied filter name.

Create a target filter
You can enter a one-time query and/or save it for future re-use.
Start at the Query field and enter a valid query. Once you start typing, a prompt in the right column will indicate if the entered search parameter is not well formed, as well as the accepted values.

Find out more details on how to properly structure your queries at Target filtering.
An entered valid query is applied to the targets list immediately. As mentioned above, the fact that the list is filtered is indicated by the blue chip on top of the list. Since your query is not yet saved with a specific name, the blue chip says only by RSQL filter.
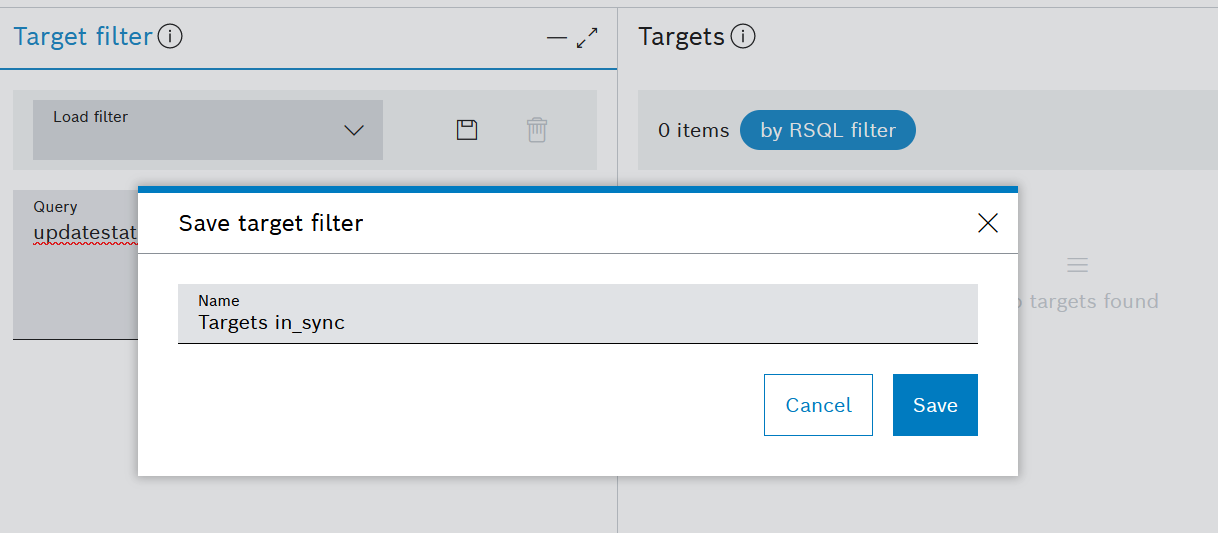
Now if needed, you may save the entered query as a new target filter by clicking the Save icon. In the dialog that opens, enter a name for the filter and then confirm with Save.
You will need your saved target filers when creating rollouts or auto assignments. For example, during the rollout creation process you will use this name to choose the appropriate target filter.
Once saved, the newly created filter is added as an entry in the Load filter drop-down menu.
Load and manage existing filters
From the Load filter drop-down menu you can select any of your already saved filters.
You can also directly type in this field to search for already saved filters.
When you have selected a filter, its corresponding query is displayed in the Query field and the list of targets on the right gets filtered accordingly.
To edit a target filter, just edit its query directly from the Query field. Upon that, the save icon ![]() becomes active, and you can save the filter update. You will be prompted to confirm the change before it is actually saved.
becomes active, and you can save the filter update. You will be prompted to confirm the change before it is actually saved.
You can also delete the selected filter via the corresponding delete icon![]() . You will be asked to confirm the deletion too.
. You will be asked to confirm the deletion too.