Describes the general appearance of the User Manager GUI.
Basic Principles
The User Management package provides graphical user interface for management of users and groups for the whole RM system. All operations related to user management are performed in the Users Management view of the console dashboard - go to Dashboard and select Users Management or click the  dashboard button. The Users Management view is separated into two panes. The left pane, Search Roles tab, contains expandable sections. The Quick Views section shows a list of all users and groups' shortcuts for getting the available roles. The Advanced Search section allows you to filter roles through certain criteria. One way to filter roles is through the Search by Name text field, corresponding to the Search by Name filter at the top of the pane, whichever of the two is applied last. Another way to manage roles is through the Roles Properties view, where in a table style you can add or remove certain properties and their values in order to display the desired users, groups, dynamic members, basic members and also users or groups in browse dialogs. Here you can save the filter and apply it again from the Custom Filters section.
In the right pane, the Dashboard tab also contains expandable sections - the Functionality Overview section presenting a brief package description and the Administrative Actions section containing actions' shortcuts. Once a role is filtered or selected from the Quick Views, a new tab appears listing the role(s). When a user or a group is selected from that list, a tab appears at the bottom of the panel named after the user/group. The tab contains all sections necessary for managing roles - Membership, Actions, Additional Properties, Credentials and Preferences.
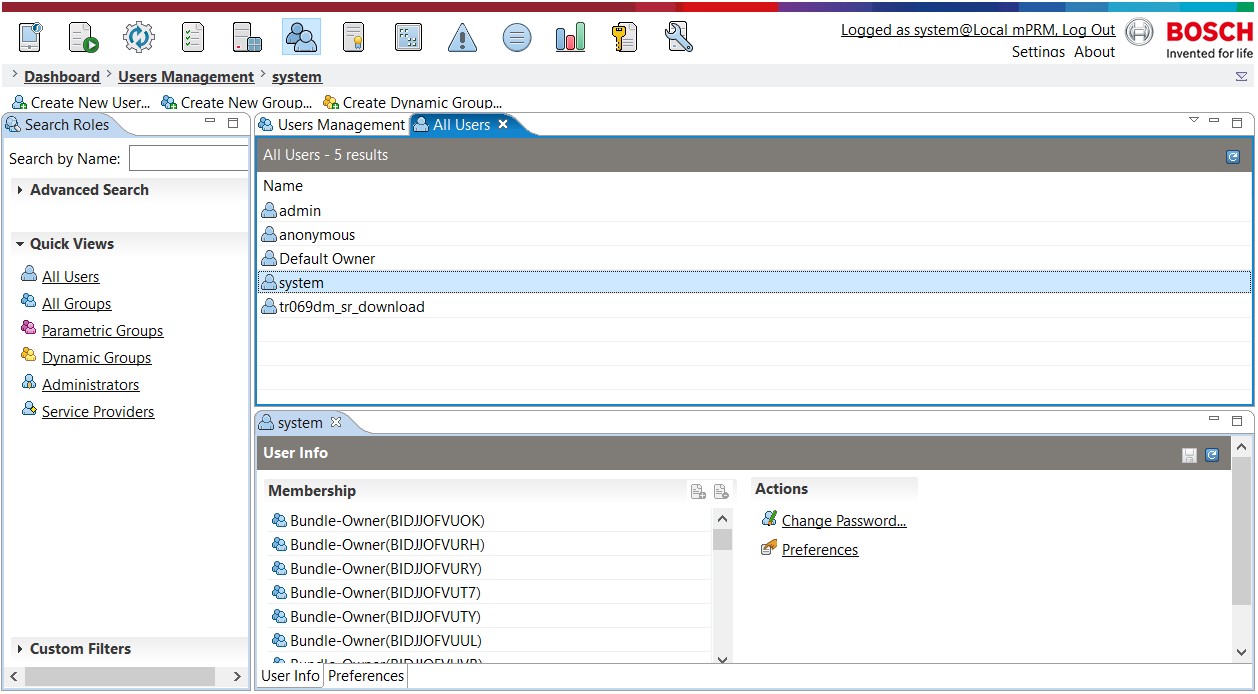
Operations on users are performed through the commands in the pop-up menu.
Search Roles
In the Search Roles tab, a Search by Name text field is situated at the top of the pane. The value in this field sets a filter, which determines the roles that will be displayed.
It may be configured through the Advanced Search section. At the top of the section is situated a Search In drop-down menu, where are listed all of the role types that you can filter from - All, All Users, All Groups, Parametric Groups and Dynamic Groups.
After determining the role type to search from, to narrow down your result, you can type the name of the user or group in the Search by Name text field corresponding to the one at the top of the pane. Active is the one applied last. All accounts, whose name starts with the entered prefix will be displayed.
In the same section, if a role name is not specified, another way to construct your search criteria is through the Roles Properties view, where in a table style you can filter roles properties. Use the  button to add properties and their values and the
  button to remove unnecessary ones. This is allowed for any properties, as long as the restrictions of the LDAP filter are observed. Information about the symbols to be used and to be escaped if necessary, can be found at ORACLE's Sun Directory Server Enterprise Edition 7.0 Reference.
To get the search results for filters use the  Search button and to save the filters that have already been applied - use the
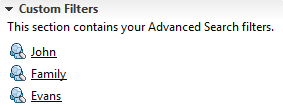
  Save Search Filter button. When saving a filter, a new pop-up window appears allowing you to name it. As a result the filter appears in the Custom Filters expandable section. All filters are listed in the order they have been saved.
Users
All of the available users are listed in the All Users tab in the right pane of the console. The management of each user is performed via the User Info and Preferences tabs displayed at the bottom pane of the console. Operations allowed over the users are:
Icon | Name | Description |
|---|---|---|
| Create New User | Creates a new user. How to create a user is described in the Managing Users and Groups document. |
| Delete User | Destroys the user and deletes it from the user list and user database. |
| Change Password | Opens a dialog box where the current user password may be modified. |
| Search Roles | Allows user search according to different criteria. |
| Preferences | Allows for user's preferences management. |


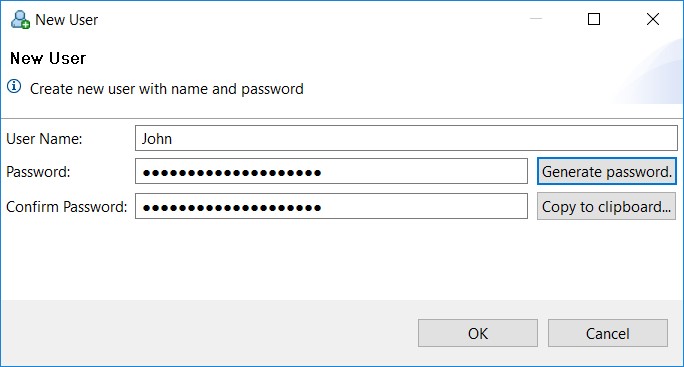
When a new role is created, a dialog is displayed, allowing you to name the role and secure it with password. To create the role successfully, select the OK button. The new role appears in the All Users tab.
User Information
The User Info tab displays properties, actions and credentials of the currently selected user. All properties are according to the OSGi defined characteristics of a role. Only the user name is a compulsory property. The User Info tab displays only those properties which have set values.
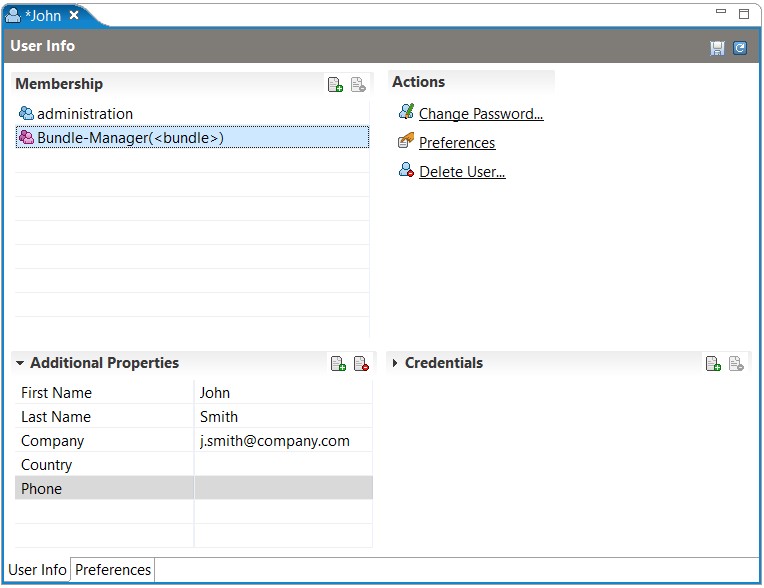
The following types of details about the user are listed, each featuring its own section:
Membership – The membership section contains group names. These are the roles implied by the user. To add or remove a group use the add/remove buttons at the top of the section or from the pop-up menu. Only the system user has predefined membership properties. Here the add and remove buttons are disabled.
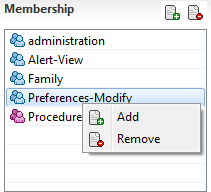
Add Membership – Opens the groups dialog.
Remove Membership – Removes the selected group from the user membership properties.
Credentials – The credentials, giving the user access. Only the credential with key userPassword is standard. This is the password used for login into the RM system. The other credentials may be entered with user-defined keys. All credential properties and their values are displayed in the expandable section's table.
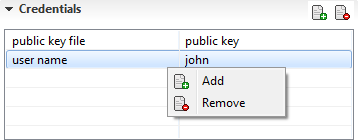
Add Credential - Adds a new credential to the user properties. The text field becomes active for typing in the new property name and its value.
Remove Credential - Removes the selected credential from the user's properties.
Properties – Miscellaneous details about the user.
Actions – The available operations performed over the selected user.
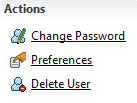
Change Password – Changes the user's current password. When selected, a new Change Password window appears with text fields for new password and confirmation.
Delete User – Deletes the selected user.
Preferences – Shortcut to the users preferences tab.
User Preferences
The Preferences tab displayed for a selected user contains the system preferences for the user as defined by the OSGi Preferences Service Specification.
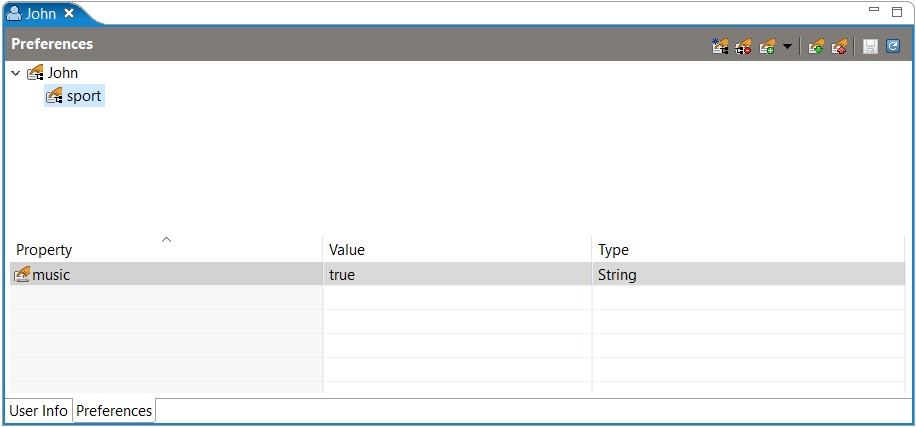
To create a new Preferences node invoke New Preference command from the popup menu.
In the displayed New Preferences dialog, type the name of the new preference path and click OK.
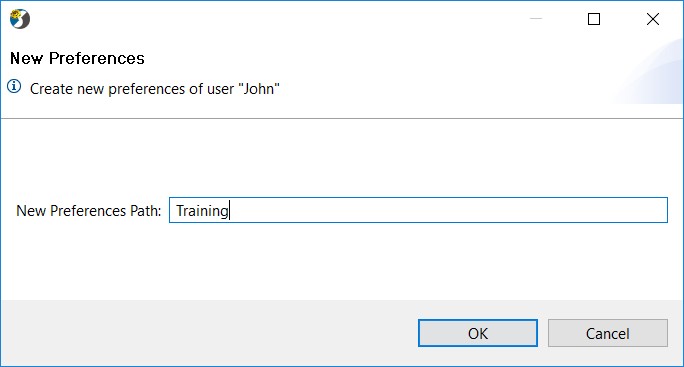
The new node appears in the preferences tree.
To delete a preference node, select it from the system preferences tree and invoke the Remove Preferences command from the pop-up menu.
Add/Remove Properties
To add a new property, you have to invoke the preferences pop-up menu and to select the preferred property type from the Add Property context menu.
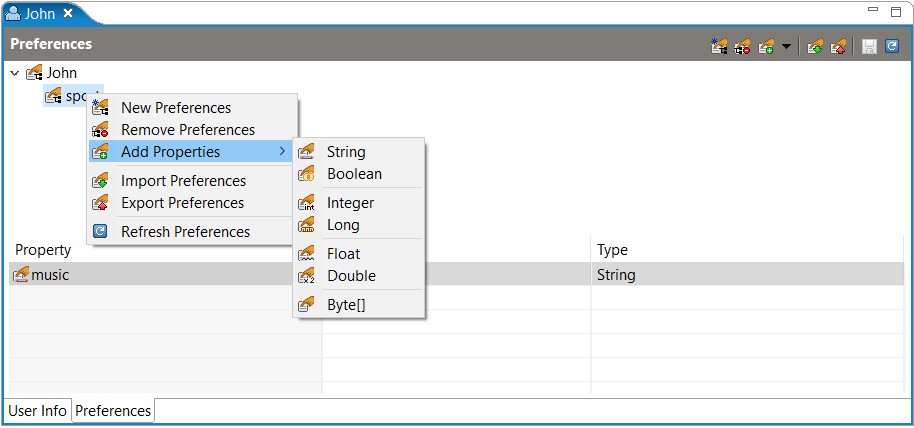
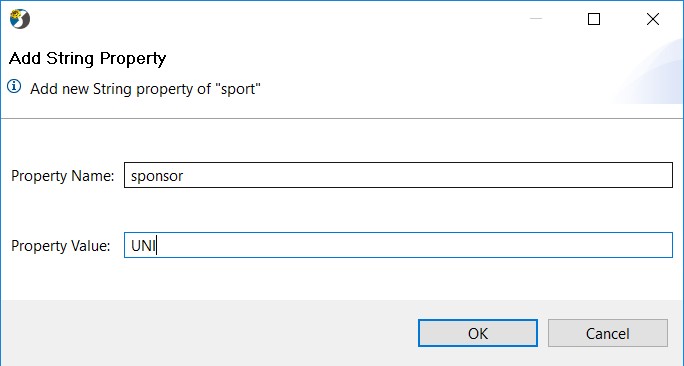
The displayed dialog is named after the selected option from the preferences pop up menu. For example, if your choice is String, the dialog will be named Add String Property where you can fill in the property name and specify its value. Confirm with OK.
The available properties are not visible in the user's preferences tree. Select a node from the tree and its properties, if any, will be displayed below the tree in a table style.
To remove an existing property from the user's preferences node, got to table view, right click on the property and select the only available option - Delete Property.
Importing/Exporting Preferences
You can import/export a preferences file by using the correspondent menu command. In the file chooser dialog specify the preferences file to be imported/exported and press OK button.
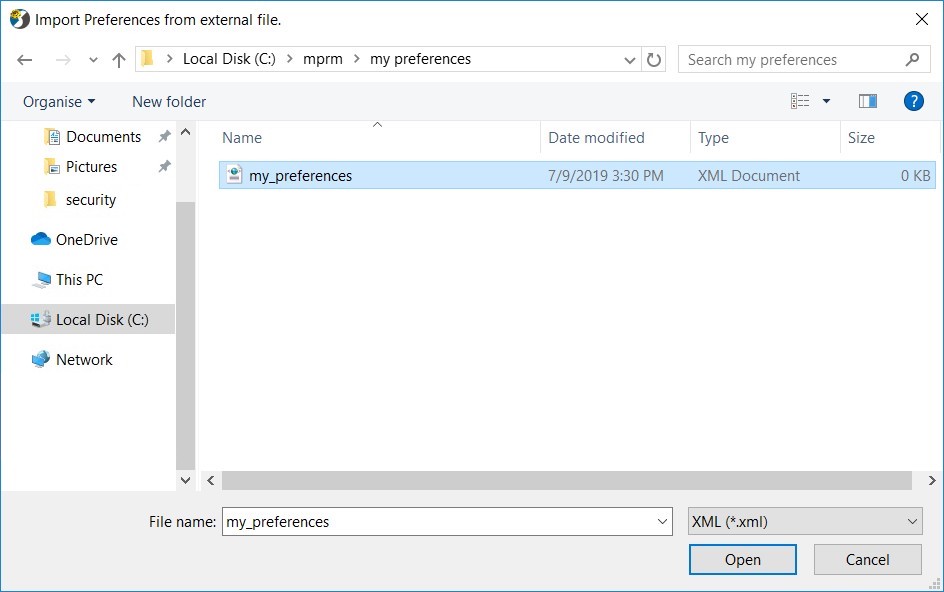
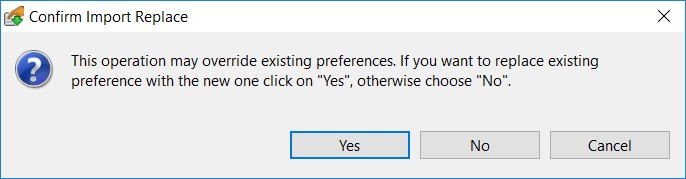
When you import a preferences file, consider that it will overwrite all preferences information, which is older than one stored in the preferences file. Anyway, the console GUI will warn you about this:
Groups
Groups are all listed alphabetically in the All Groups tab.
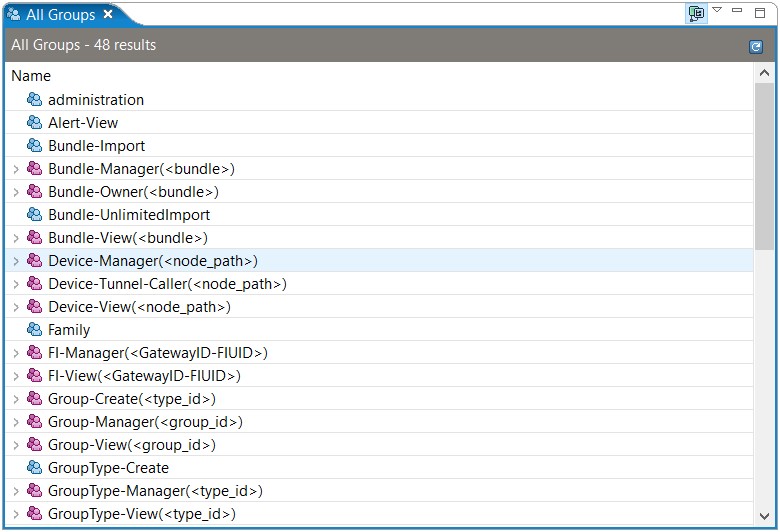
A group can be managed through its pop-up menu and the Actions section in the role's tab. When a role is selected,
Icon | Name | Description |
|---|---|---|
| Create New Group | Creates a new group. The dialog is described in the Managing Users and Groups document. |
| Create Dynamic Group | Creates a new dynamic group. The dialog is described in the Managing Users and Groups document. |
| Add Parametric Group | Creates a new parametric group. The dialog is described in the Managing Users and Groups document. |
| Delete Group | Destroys the group and removes it from the users database and from the group list. |
| Delete Dynamic Group | Destroys the dynamic group and removes it from the users database and from the group list. |
| Delete Role | Destroys the role and removes it from the users database. |
| Search Role | Allows for group searching according to different criteria. |


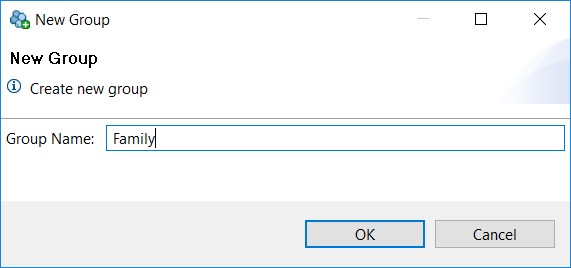
To create a new group, go to the main menu and select the Create New Group option. A New Group dialog appears with text field for typing the group's name. To continue, click the OK button. As a result, the new group appears in the All Groups tab.
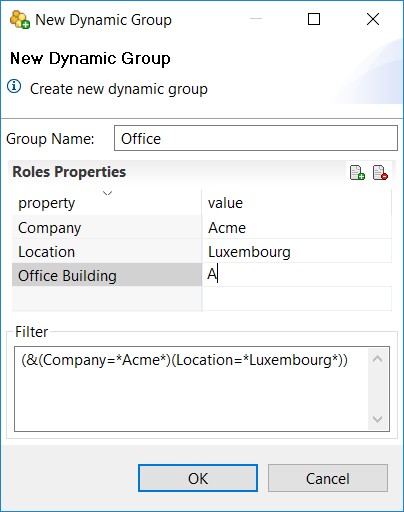
The process for creating a dynamic group, is slightly different. In the New Dynamic Group dialog except giving a name to the group, you need to define roles properties and their values.
Group Information
Few types of details may be specified about a group, of which only the group name is compulsory.
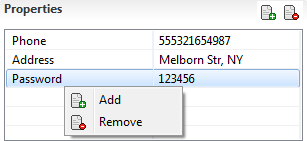
Properties – User-defined key-value pairs for better identification of the group.
Basic Members – Basic members of the group, as defined in the OSGi specification. Users and groups, that are listed here, gain all access allowed to the current group.
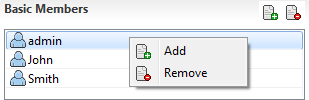
This list has a pop-up menu, which allows you to add and remove basic members. When adding a new basic member, a dialog appears allowing you to filter users and groups by their names. Double click on a user or group to edit its properties.
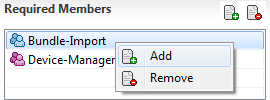
Required Members – Only other groups may be required members of a group. If you want to add a group as a member of the current group, it should also imply all required members, i.e. to be their member.
The required members list, like the basic members one, also has a pop-up menu, from which you may add new members or remove an existing one. To edit the properties of the listed groups, double click the member group you wish to edit the properties of.
The details about a dynamic group are more limited. A dynamic group has:
Name – the unique name, which identifies the group in the RM.
Filter – The LDAP filter, which determines the members of the dynamic group.
Dynamic Members – A list of users, whose properties fulfill the filter at the moment. The properties of the selected user, from the current dynamic members list can be edited. To edit the members in the group, simply double click on the one you wish to modify its properties.