Overview
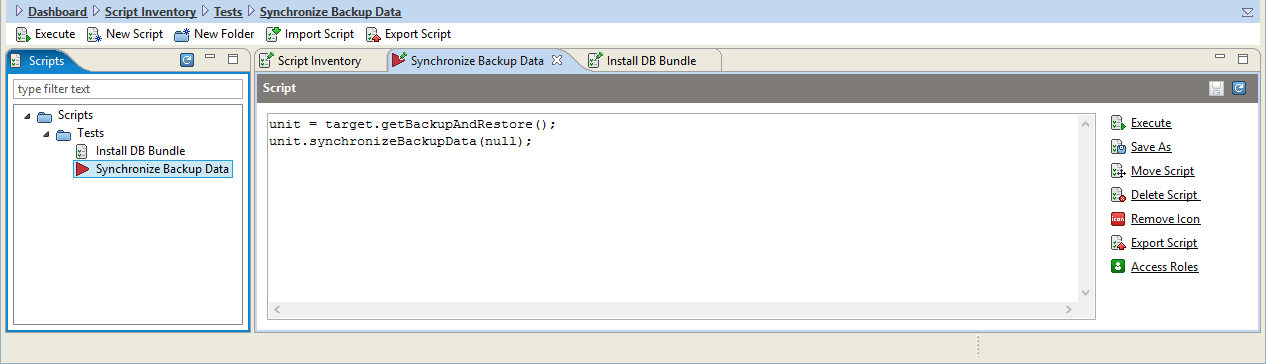
In order to access the Script Inventory menu you need to click on the icon located on the top section of the RM Console.
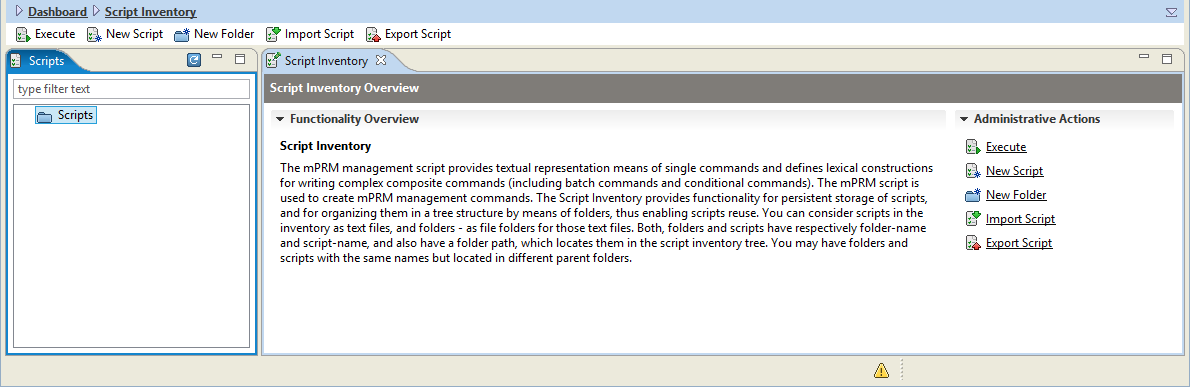
In the administrative pane you have the following options:
Execute an existing script;
New Script creation;
New Folder creation;
Import Script from a chosen location (.zip format);
Export Script to an archive (.zip format).
Organizing Scripts
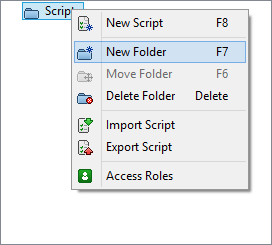
You can create folders to better organize your scripts (e.g. Devices, rules, tests etc.). There are several ways to create new folders but the most common is to right click on the Scripts folder and choose from the options:
After creating a folder you can create New Script or import existing one:
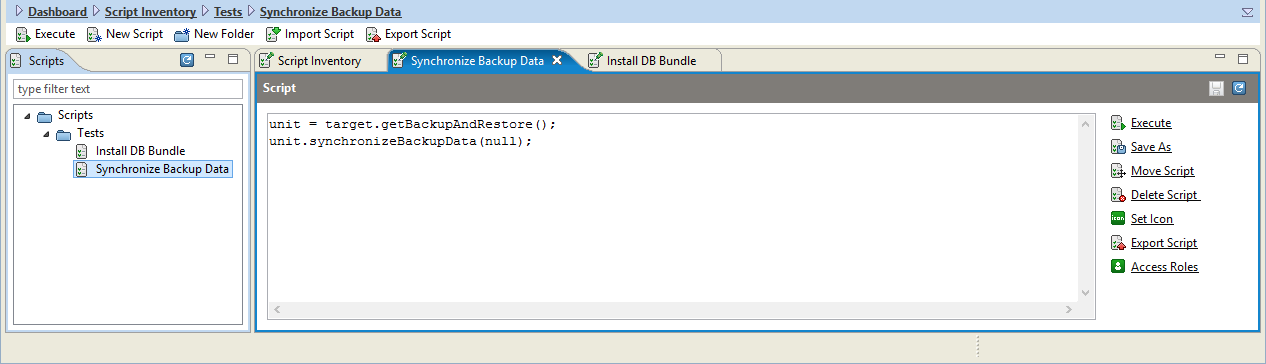
Additionally you can customize the scripts by changing the default script icons by choosing the Set Icon option from the right pane.
RM allows you to set custom script icons to ease you in distinguishing between different scripts (for example when a certain rule performs special functions).
To set a custom icon of a rule:
Select a script from the tree and select the Set Icon command from the right pane.
Select the desired image file (GIF, JPG, etc.) from your local file system by using the file chooser dialog and click OK.
The script should appear in the inventory with the custom icon (e.g. "print message" in the topmost figure).
To remove the custom icon and restore the default one, select the script and use the Remove Icon command from the right pane.
To provide access control you can assign Access Roles to different users of the RM.
The Access Roles mechanism allows you to authorize only specific user(s) or user group(s) to be able to execute, edit or view certain scripts(s). For example, you can authorize ACME corp to execute and edit the Manage-Bundles scripts, and only to view the System-Configuration ones.
To take advantage of the Access Roles feature:
Create in advance all users and groups that will be provided with access rights to a node, e.g. by using the User Management node of the console.
Right-click on the node (folder or single rule) from the Rules tree in the console and select Edit Access Roles from the popup menu.
As a result, a dialog Access Roles appears showing the roles that currently have "view" or "modify" rights on the node.
In the shown access roles dialog, specify the roles which will be allowed to access the node and the access type for the roles and click OK:
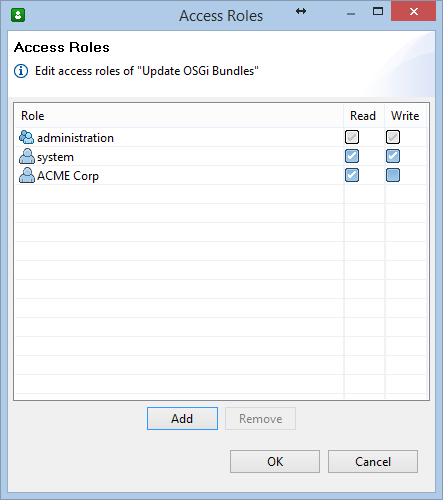
To add a new role, click the Add button, and select user(s) and/or group(s) from the RM user management system.
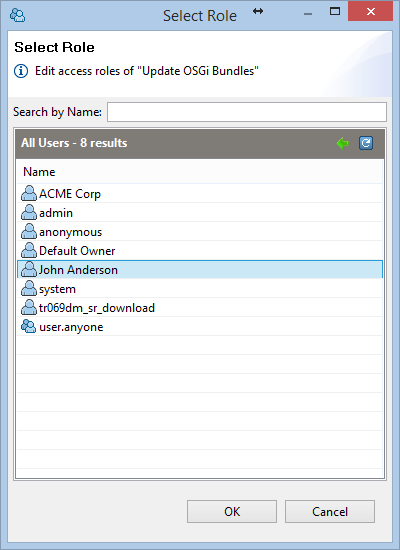
After the new role appears in the access roles dialog, check the box for the roles' access type – Read for only viewing the node and its sub-tree or Write for viewing and modifying the node and its descendants.
To change the access type of a role which has access to the node, select the role and check the relevant access type box (Read or Write).
To remove the access rights of a role on the node, select the role and click the Remove button.
As a result, each of the specified roles will become a member of the user group related to the access type you have set for it. In particular, roles which have access type Read will participate in the Rule-View group allocated for the node, and roles which have access type Write will participate in the Rule-Manager group allocated to the node.
Obtaining Ready Scripts
You can obtain scripts by executing actions on the devices.
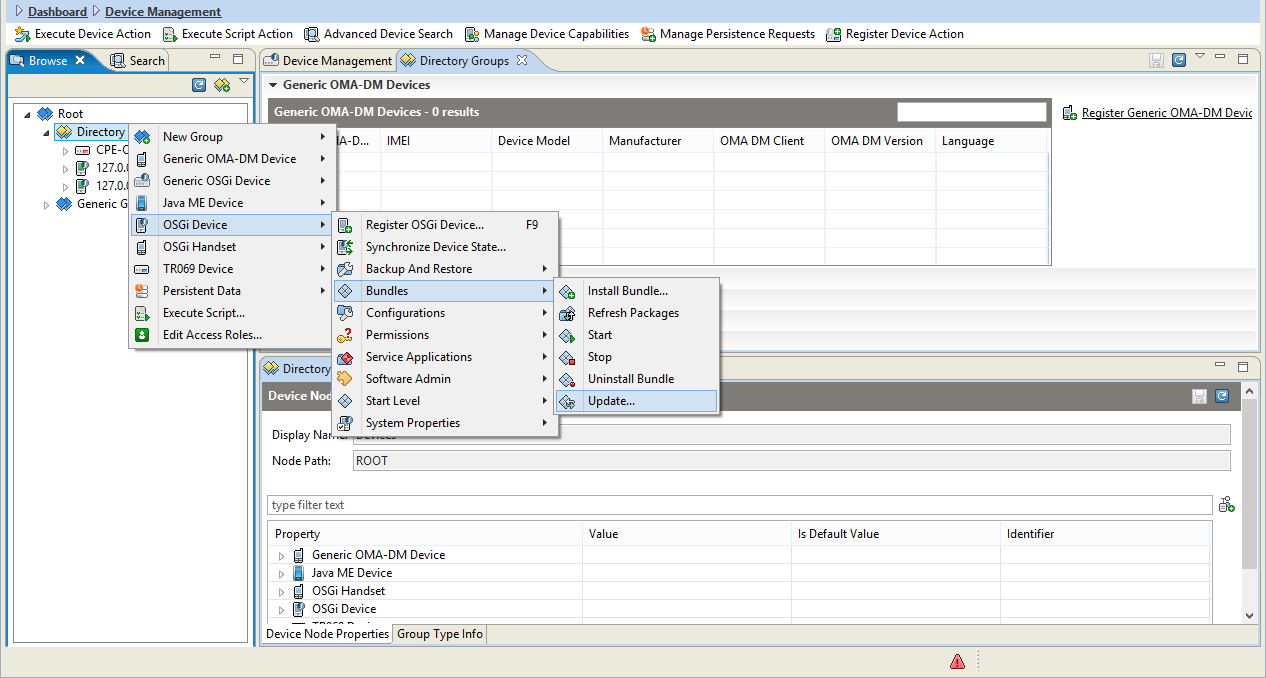
For example run an update over the bundles of all OSGi devices. Select Group Node > OSGi Device > Bundles > Update as shown in the figure below.
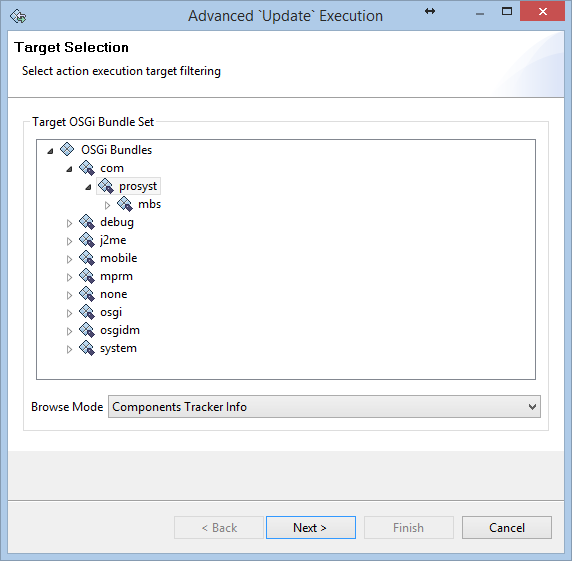
On the next screen you need to select the target group for the bundles that need to be updated. For example "com.prosyst":
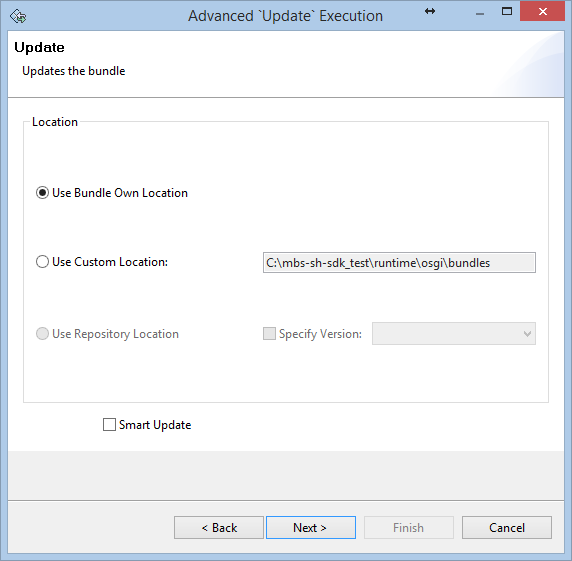
The next screen lets you select the location from which the updated bundles will be taken (Own Location/Custom Location/Repository Location):
On the next screen you will see the ready script for the chosen action. You may edit the script to add/remove parameters and change settings.
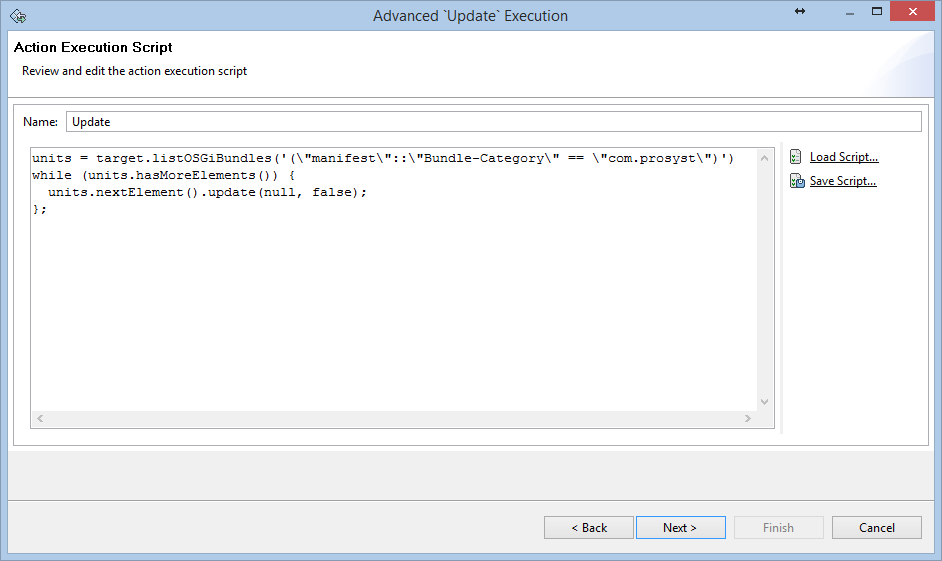
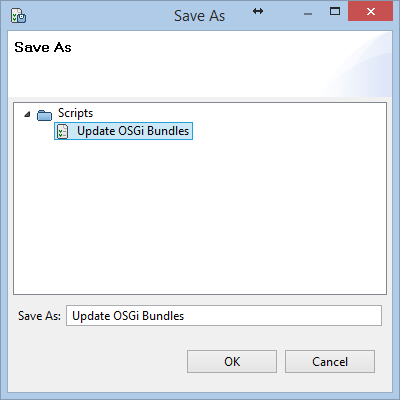
You may also Save Script for later use: