This guide provides step-by-step instructions for managing Remote Shopfloor Access (RSA) through the Management Console.
Here, you will learn how to perform key management tasks, including:
Before you begin, we recommend you are familiar with the core principles of the system. For a detailed overview, please see the Basic Concepts documentation.
Overview
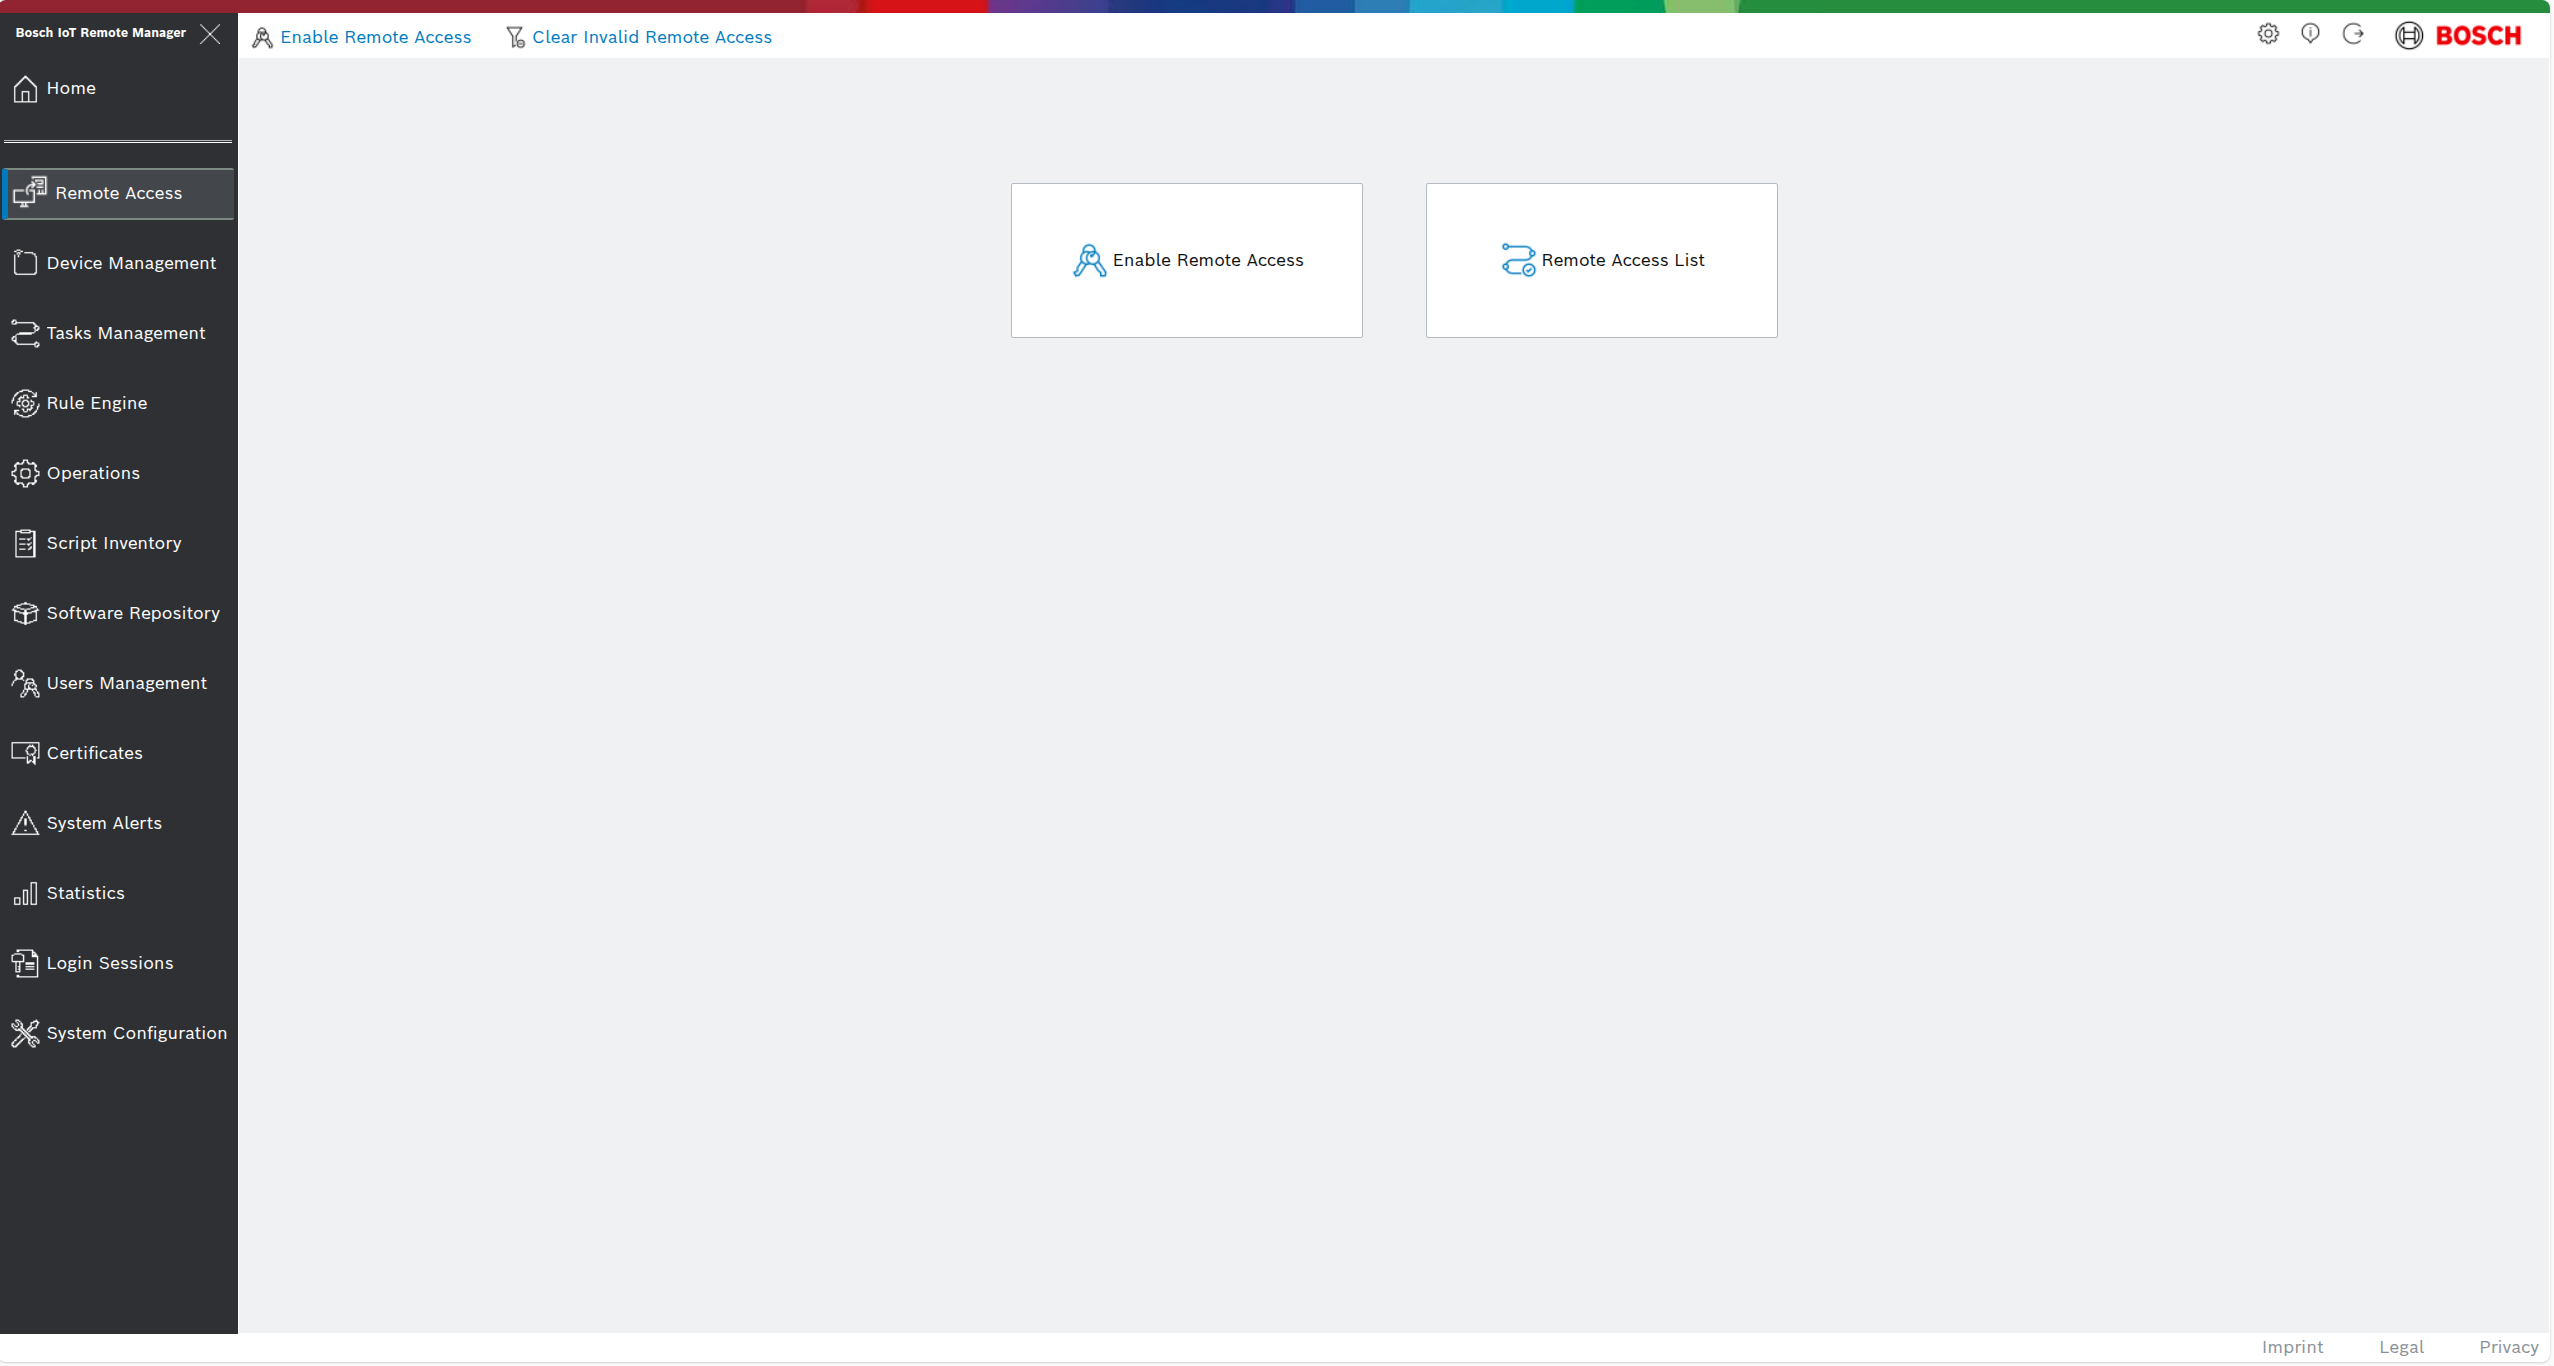
To access the Remote Shopfloor Access view, click the  button on the vertical toolbar in the management console.
The view contains the following controls:
Primary Buttons:
Enable Remote AccessRemote Access List
Top Menu Bar Actions:
Enable Remote AccessClear Invalid Remote Access
Note: The Enable Remote Access action is available both as a primary button and a menu item for convenience.
Enabling Remote Access
To enable a new Remote Access:
Click the Enable Remote Access button. This button is available in two locations: on the main card or in the top action bar.
A "Enable Remote Access" dialog will open.
From the dropdown menu, select the desired gateway.
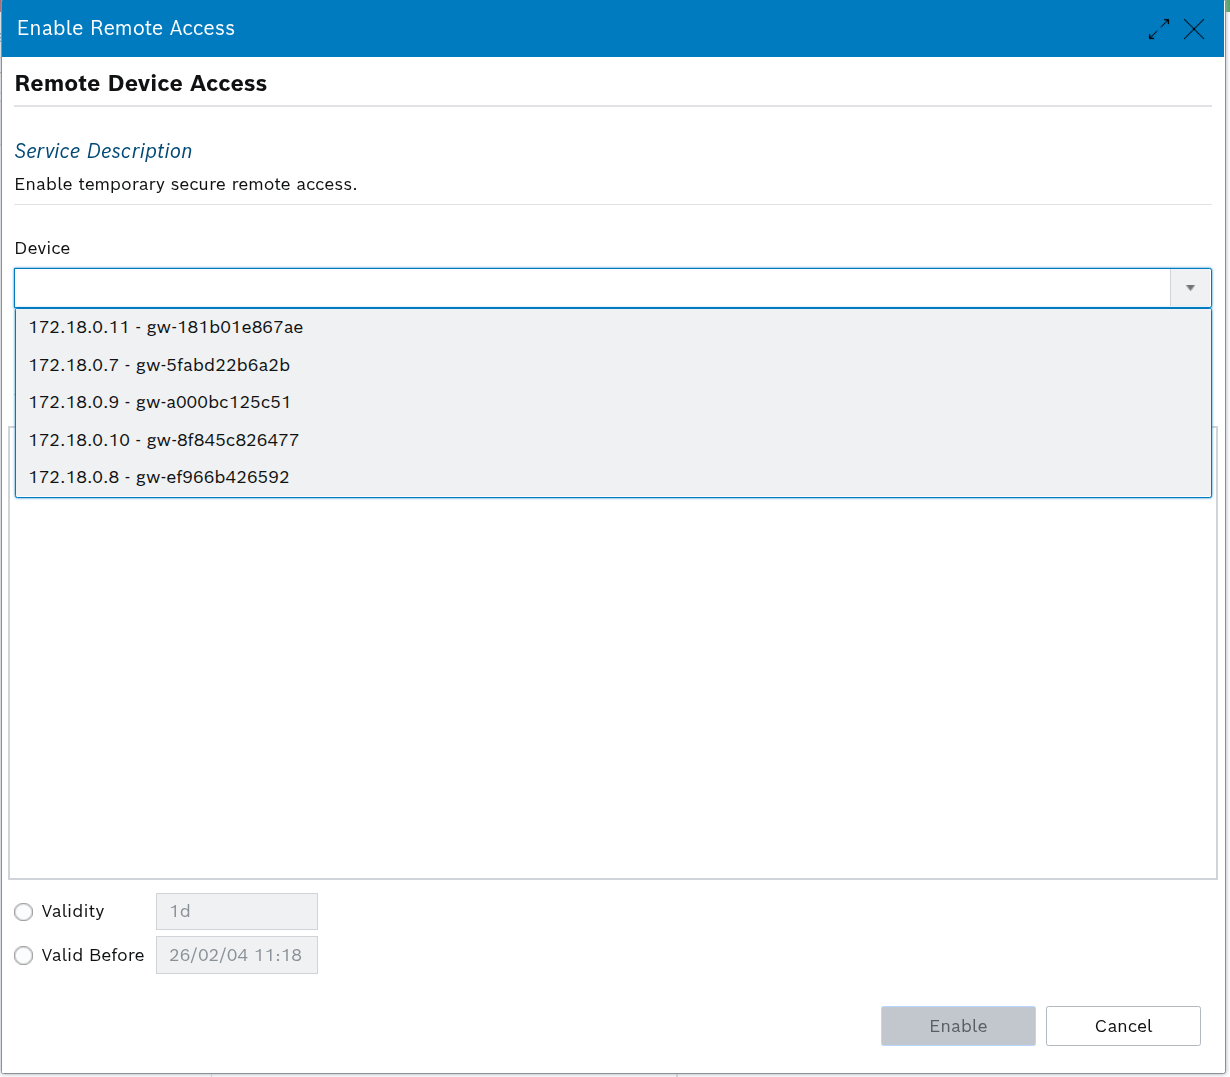
- Once a gateway is selected, the Target Device list will automatically update to display all available target schemas.
- From the list, select the checkbox next to each target you wish to enable.
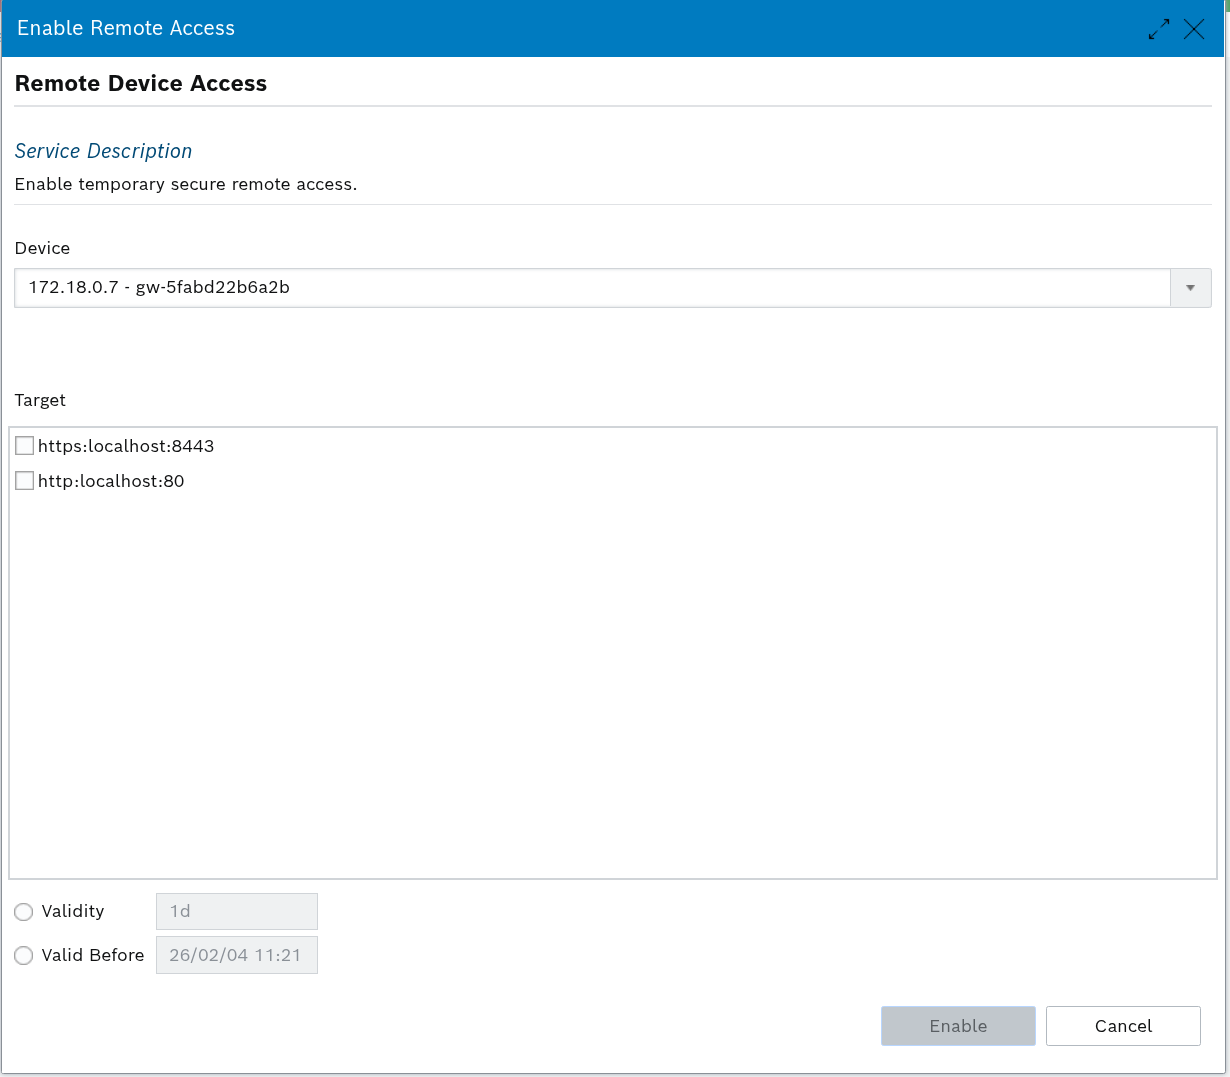
Set Validity: Choose one of two methods to create a remote access entry with custom validity at the bottom left:
By Duration: Use format
[d]d[h]h[m]m(e.g.,1d2hor30m).By Specific Date: Use format
YYYY/MM/DD [HH:mm](e.g.,2026/02/20 11:30).
- Click the Request button to submit
- Your new request will then appear in the Remote Access List on the left.
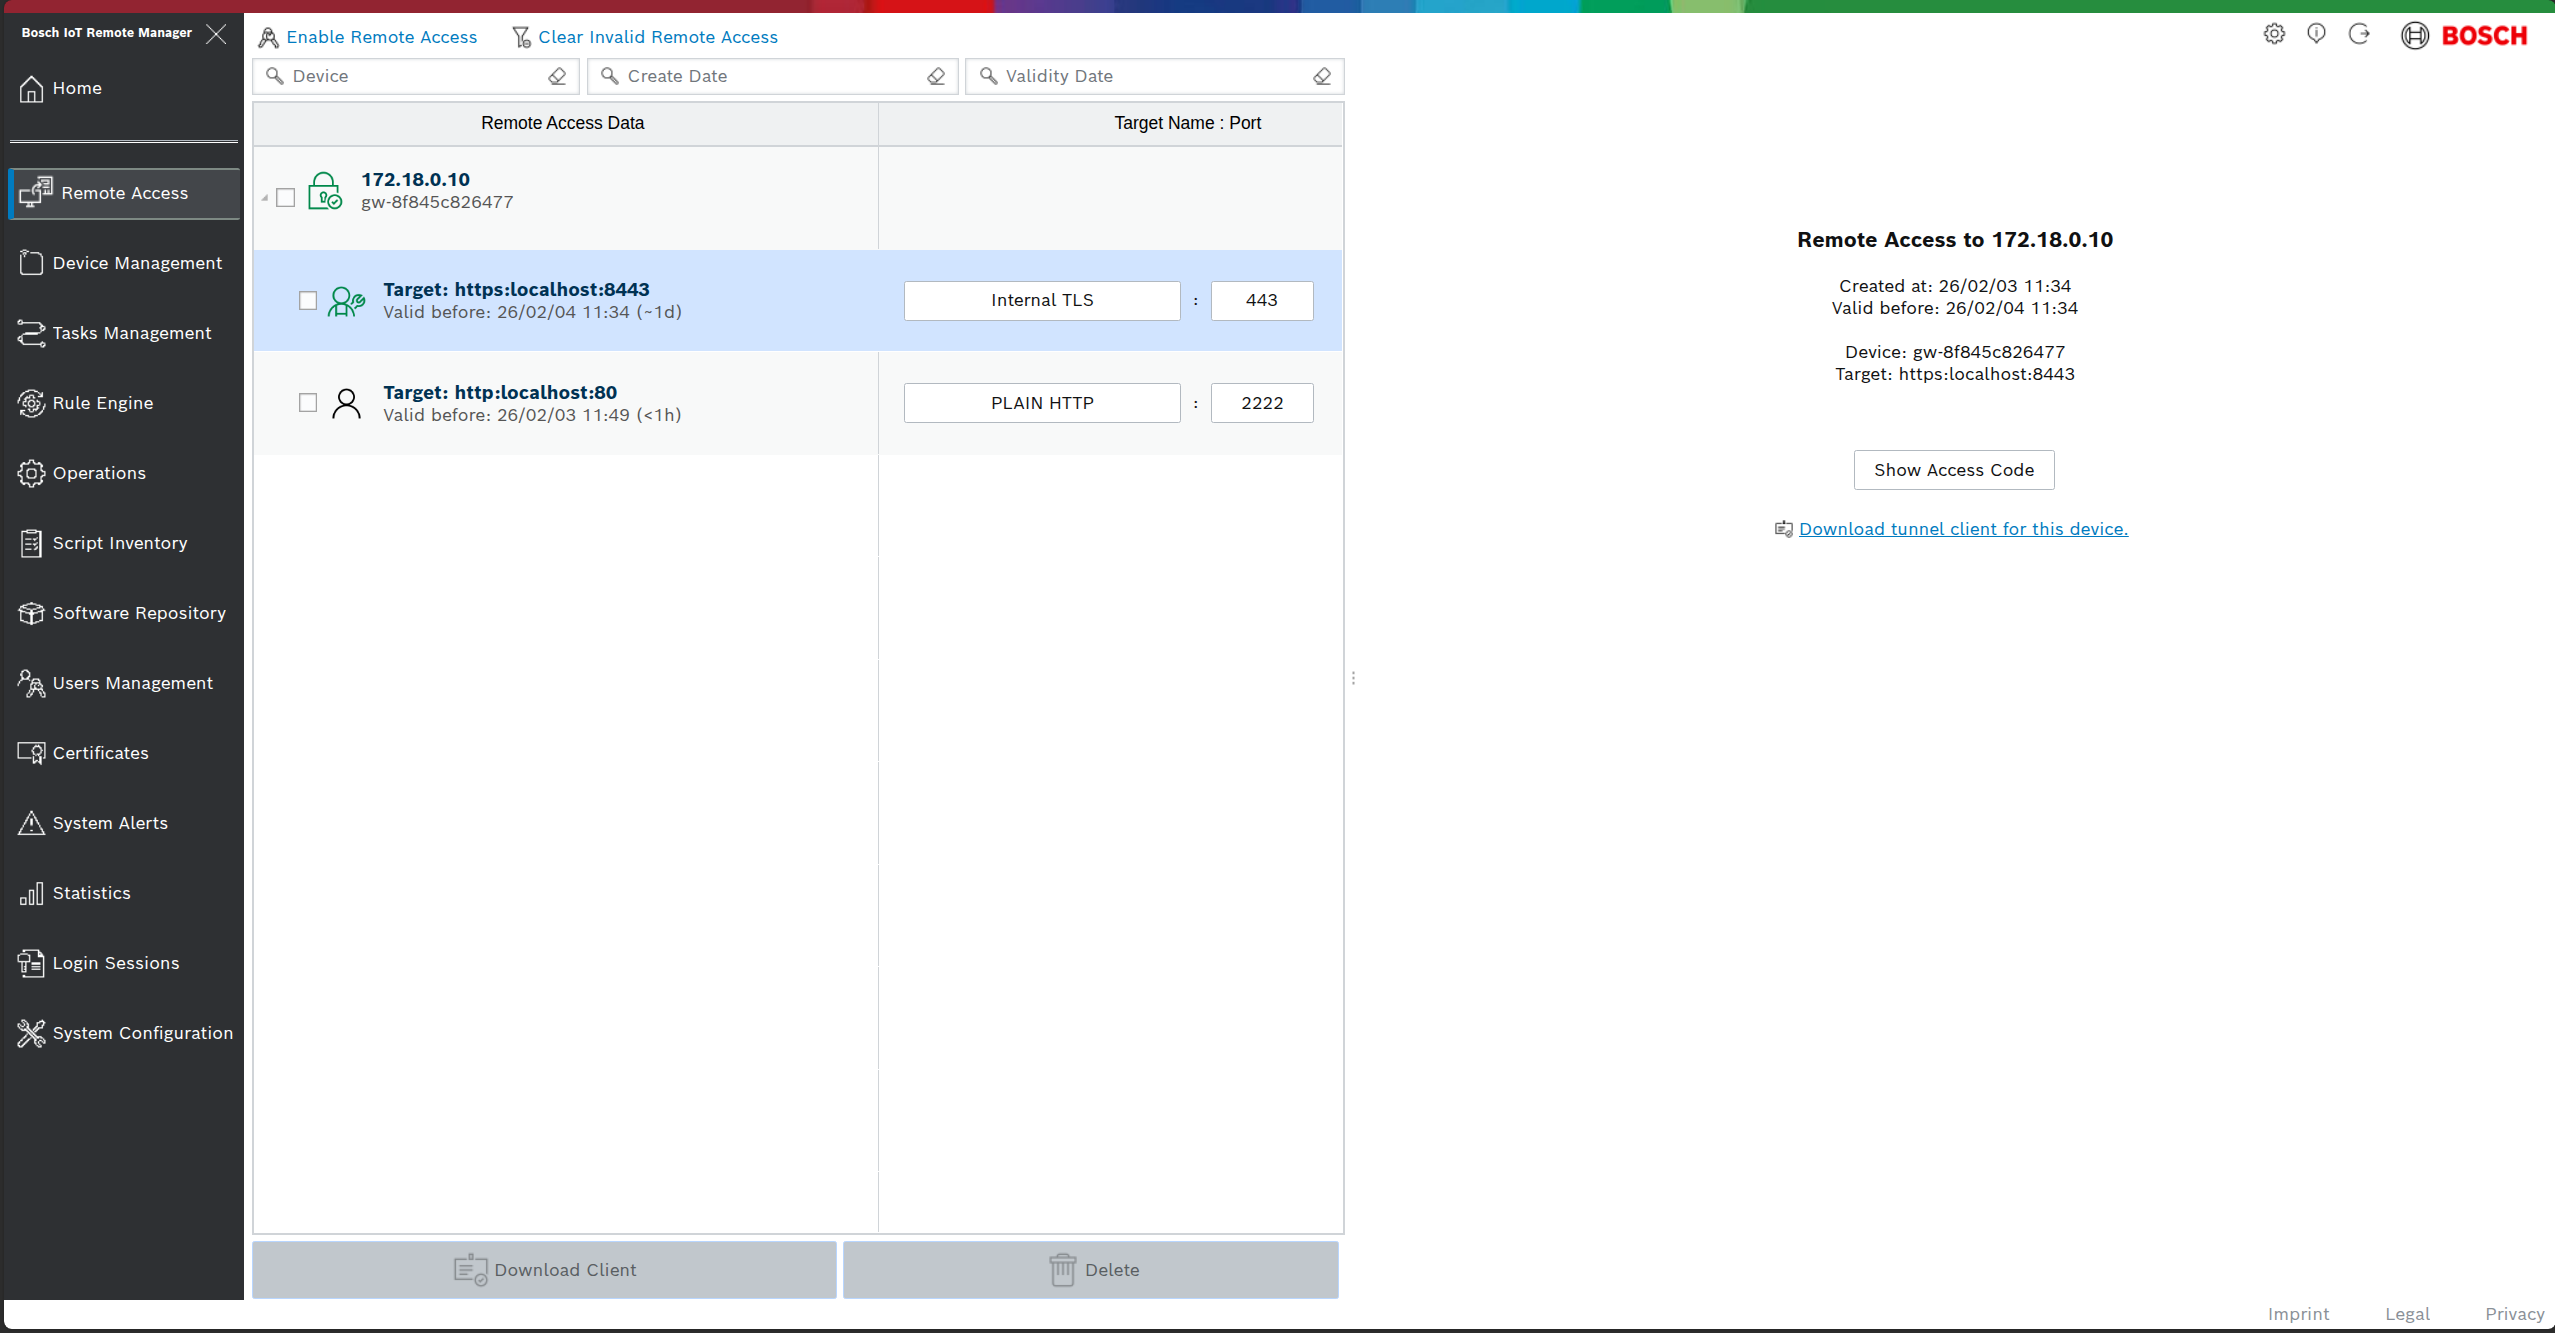
You may notice that some Target entries have a different user icon than others. Here is how they are used:
 Master User - creating a remote access entry with maximum validity, or validity that is greater than a configured threshold, the user appears as master user with this icon.
 Regular User - creating a remote access entry with validity less than the configured threshold.
 Expired Master User - when a master user entry expires.
 Expired Regular User - when a regular user entry expires.
Note: Master User status is automatically assigned based on the requested duration threshold configured in your system settings.
Downloading the Tunnel Client
You can download the Tunnel Client (.jar file), which establishes a connection to the gateways, using one of the following methods.
To download a client for a single device:
Find the device in the list on the left.
Click the Download tunnel client for this device link, located below the Show Access Code button.
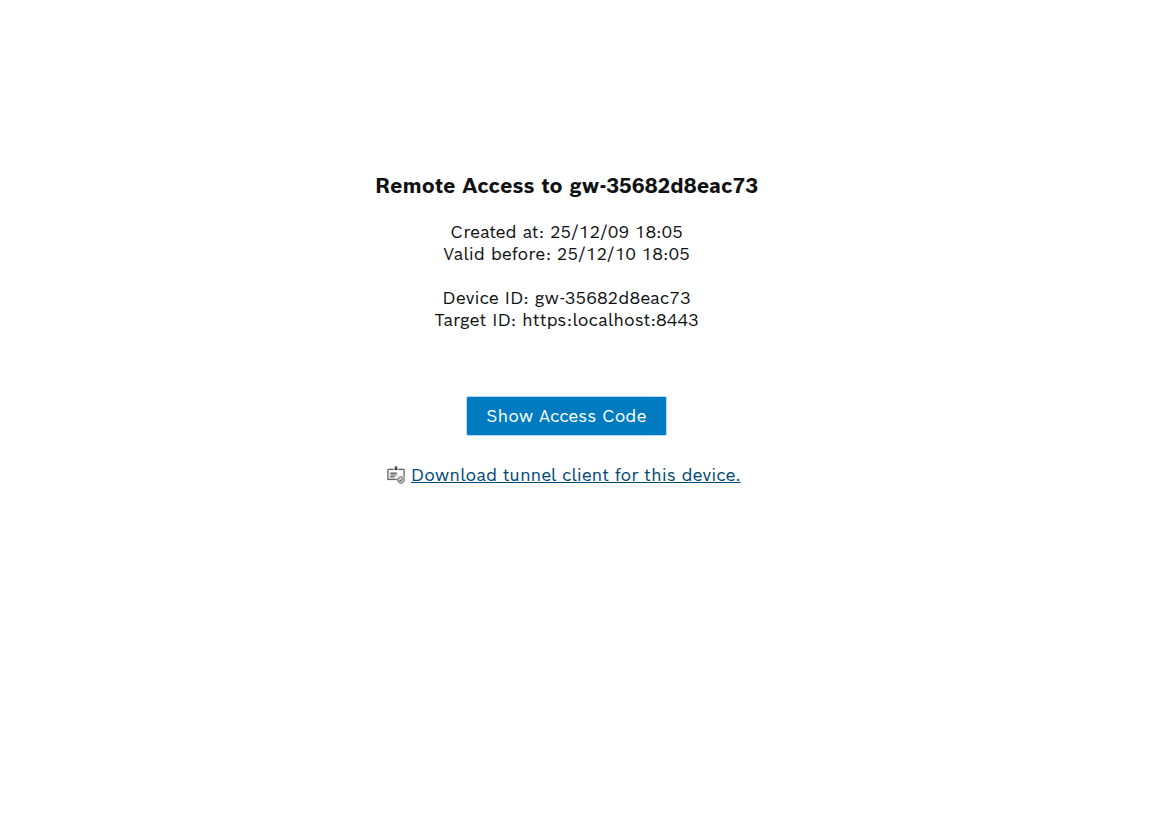
This client will be configured to connect only to this specific device
To download a client for multiple devices:
In the list on the left, select the check-boxes for all the devices you want to connect to.
- (Optional) Customize the labels and local ports for each target.
The Download Client button will become active. Click it to start the download.
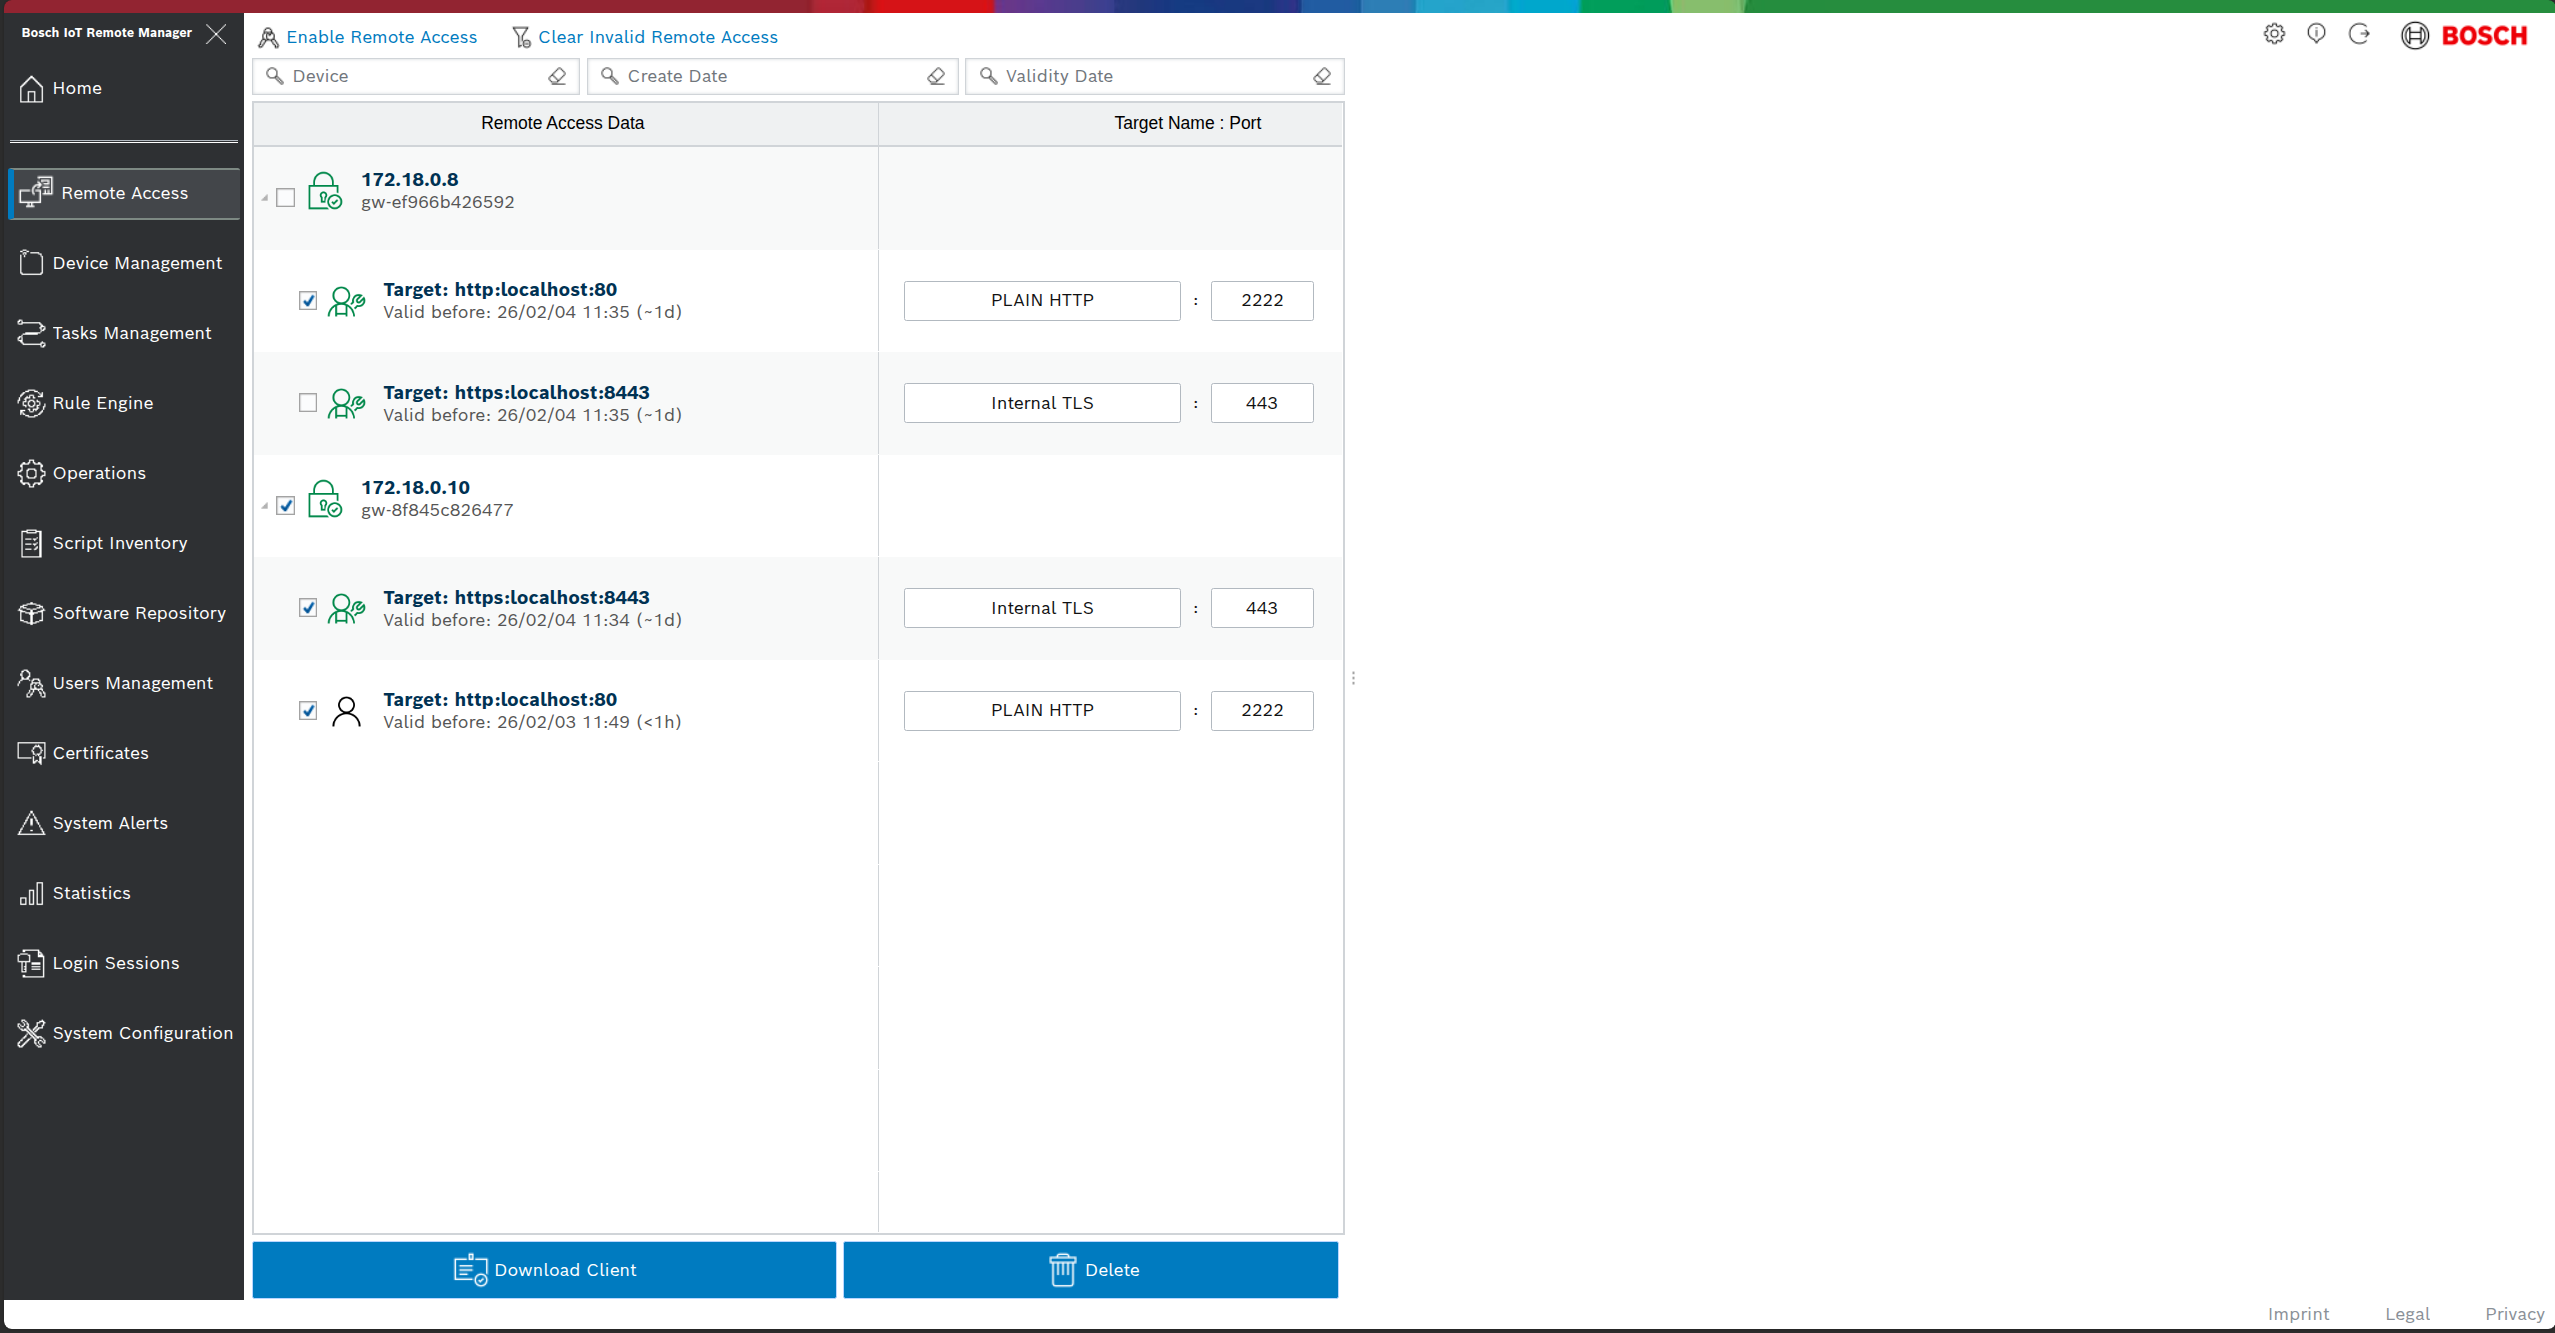
This client will be configured to connect to all selected devices.
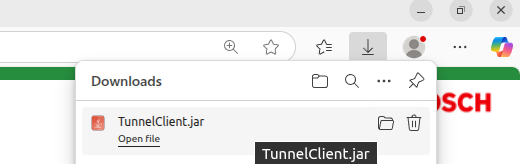
The TunnelClient.jar file will be saved to your browser's download directory. You may need to confirm that you trust the file before the download can complete.
Filtering Remote Access Data
You can filter the access entry list using the search fields provided. You can filter by device, date, or a combination of both
Filter by Device
Use the first search field to find entry by Device Name or Device ID.
Filter by Date
Use the second and third fields to filter by a date range for Created Date and Validity Date.
Date Format
The accepted format is [<,>]yy/MM/dd [HH:mm].
Use
>to find dates after the specified value.Use
<to find dates before the specified value.If you omit
<or>, the search will find dates matching that specific day.The time parameter
[HH:mm]is optional.
Date Examples
Search for... | Example Format |
|---|---|
Entries created before Nov 1st, 2025 |
|
Entries valid after Nov 2nd, 2025, 12:23 PM |
|
Entries created exactly on Dec 3rd, 2025 |
|
Entries valid on Dec 4th, 2025, at 1:36 PM |
|
Disabling Remote Access
You can disable remote access in two ways: either by deleting specific entries manually or by clearing all expired entries at once.
To Manually Delete Specific Events
Select the entries you want to remove by using the check-boxes.
Click the Delete button.
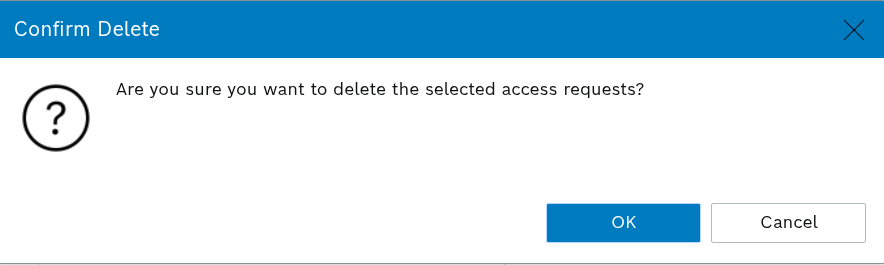
A dialog will appear. Confirm the action to permanently delete the selected entries.
To Clear All Expired Entries
- Click the
 button.
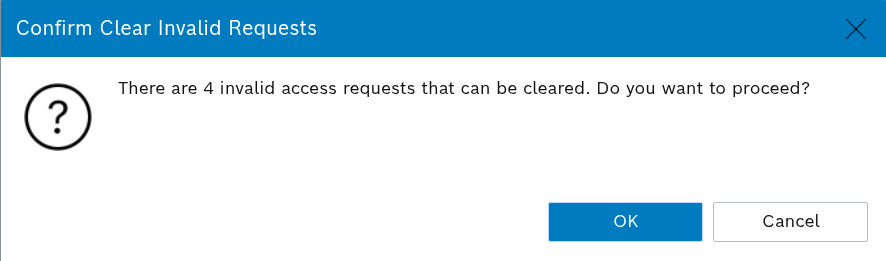
 A confirmation dialog will appear, showing the total number of expired entries that will be deleted.
Confirm the action to proceed.