The MQTT Simulator is designed to demonstrate the capabilities of devices running on the MQTT connectivity protocol in the context of Bosch IoT Remote Manager. The current simulator shows the operation of a Weather Station device and its monitored components – 2 thermometers and 2 hygrometers.
To be able to use the MQTT Simulator, you should follow these steps:
Prerequisites
Download the MQTT Simulator ZIP file, that includes all needed resources.
Import the metadata, containing the device type and its component types, into Remote Manager. This can be accomplished in two ways:
via REST calls
via the file system: copy the mqttcu folder (to be found in the Metadata folder of the above-mentioned zip) and paste it in the <rm_main_directory>initial_config folder. It will overwrite the needed resources.
For more information visit Metadata.
Extract the Simulator folder at a convenient place. The settings.properties file has to be located always in the Simulator directory.
At this point we assume that your already have your broker running.
Enable the MQTT Protocol via the RM Management Console.
Go to System Configuration>Configurations tab and select the MQTT Configuration from the list.
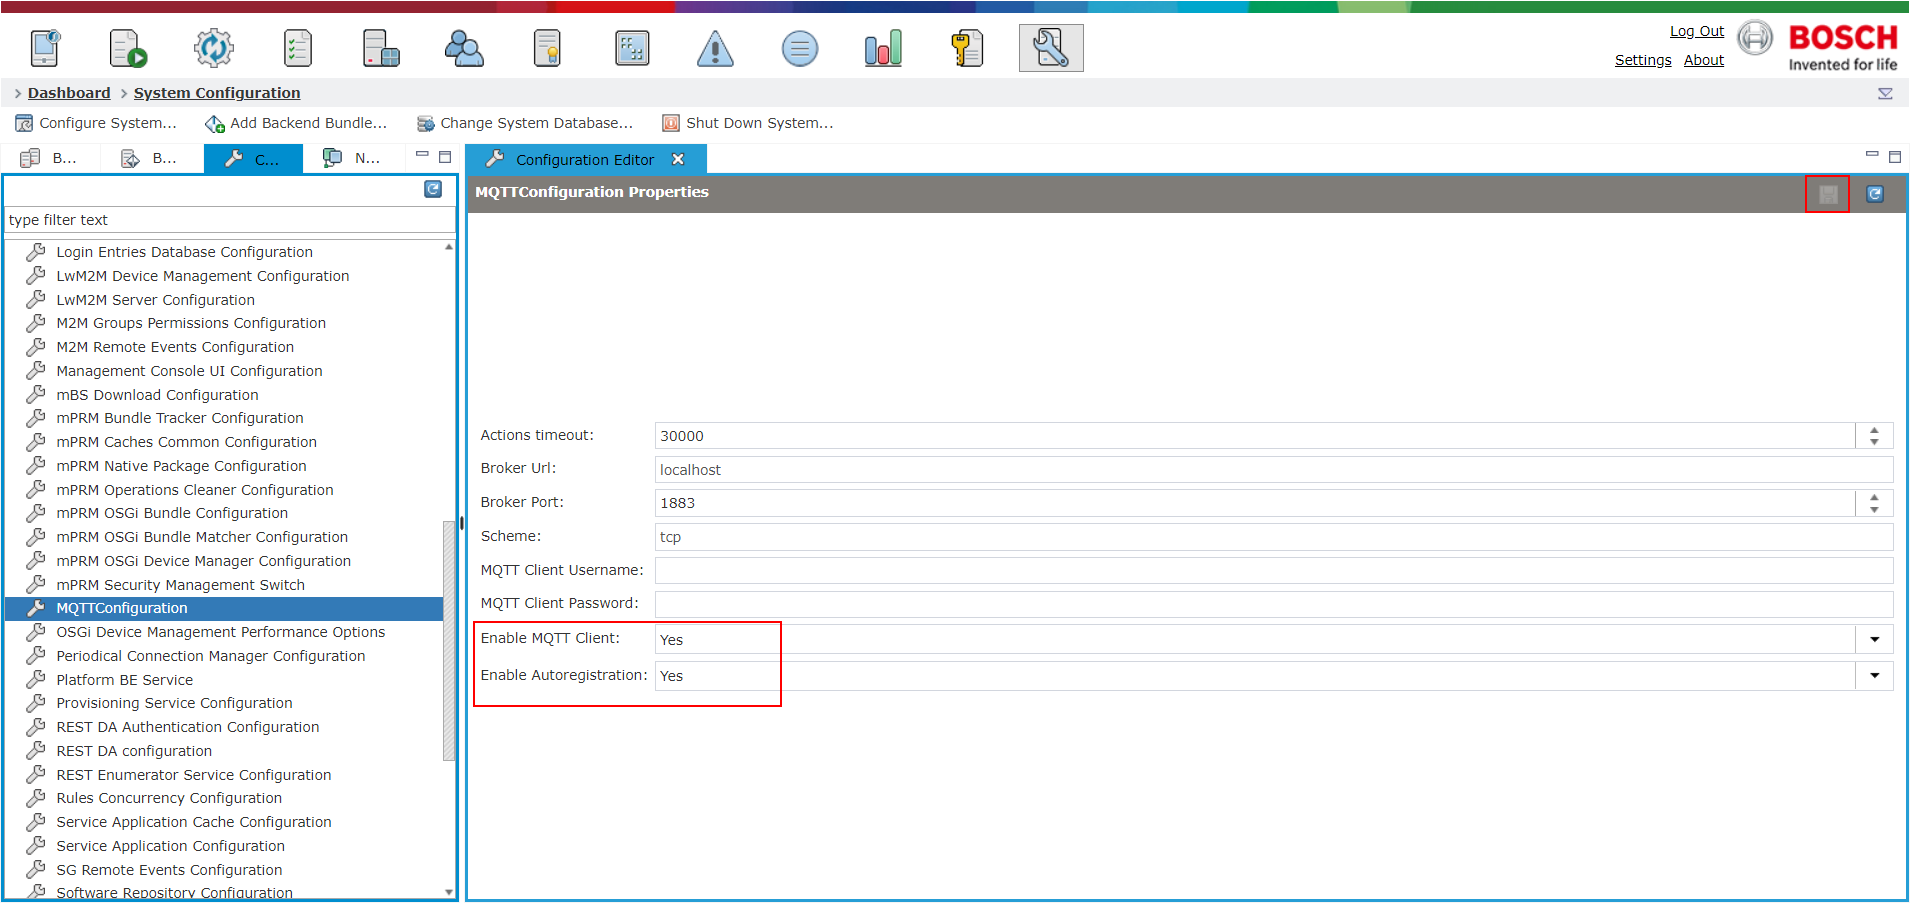
By default the Broker Url property is set to localhost but can be altered in accordance with the broker's actual location.
Set the property values of Enable MQTT Client and Enable Autoregistration to Yes.
Click Save.
Register the Device
In order to use the MQTT protocol and its Simulator, a device of the same CU type has to be registered beforehand.
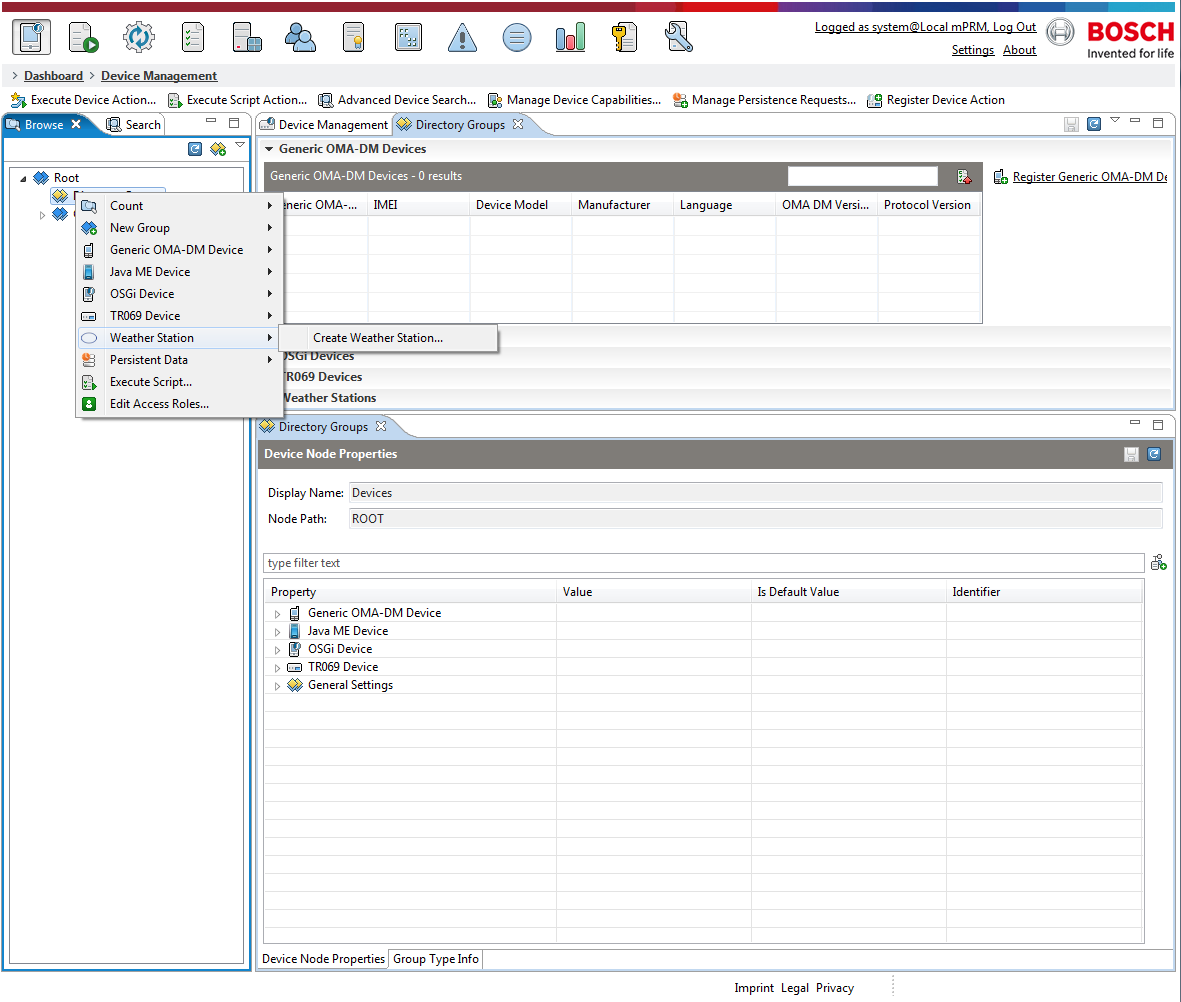
Once the MQTT protocol adapter is enabled, a Weather Station-type device can be registered. To do so:
Right click on Directory Groups, select Weather Station and then Create Weather Station.
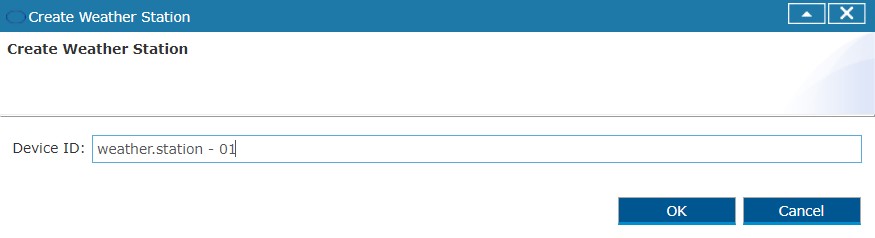
The Device ID of the device to be registered has to coincide with the deviceID. In our Simulator case it is "weather.station - 01".
Configure the authentication mechanism
Add the needed authentication-related properties via the
 button, located to the right of the Device Node Properties area (as seen one screenshot above):
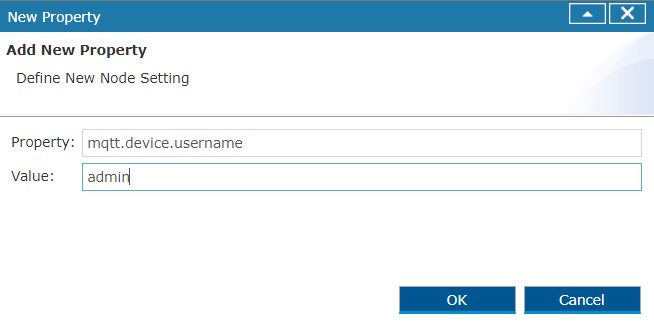
dd property name = "mqtt.device.username" with value admin
Add property name = "mqtt.device.password" with value admin
The implemented Basic Registration plugin creates pre-defined deviceCUs, however users may register a custom plugin which has other deviceCU components.
Turn ON the Simulator
Start the MQTTSimulator.jar file.
The simulator has three states:
Disconnected (
 )
)Connecting (
 )
)Connected(
 ).
).
Click the Connect button. A login request will be sent to the system. The state color signals will change accordingly.
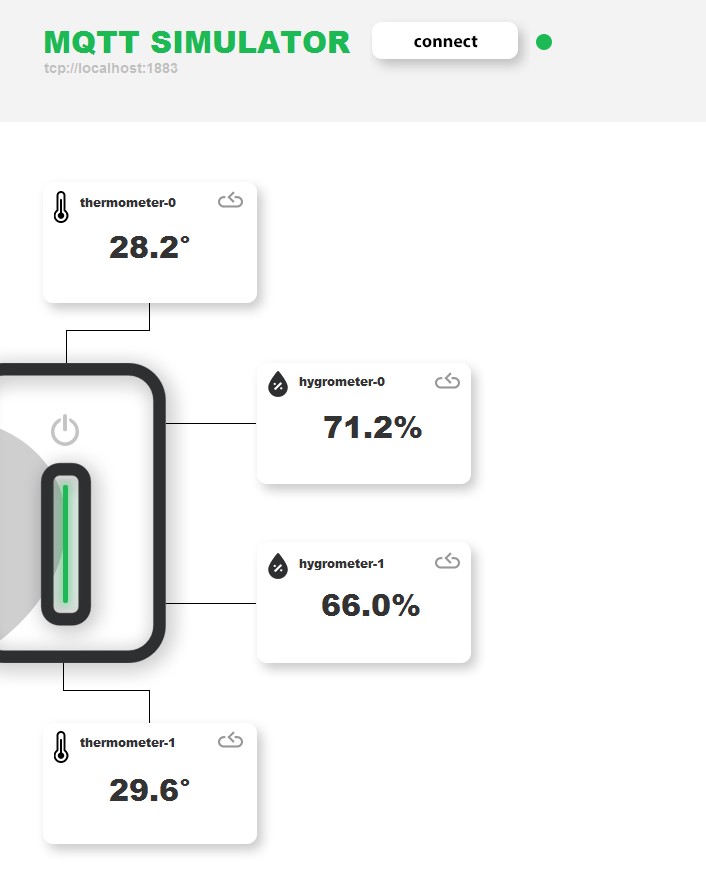
Once connected to the Remote Manager, click the turn ON/OFF button to activate the simulated device. All deviceCU components will appear under the device tree with a set of predefined operations as seen below.
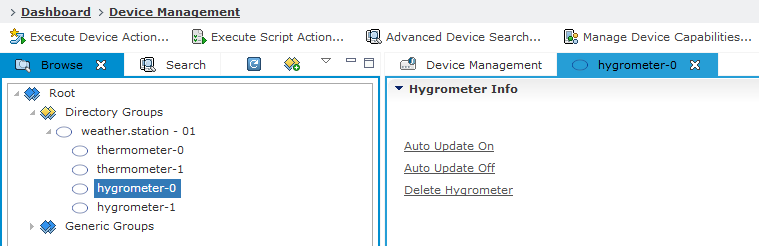 Keep in mind that the Create and Delete operations do not work for the MQTT Simulator purposes.
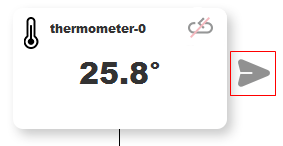
Auto-update of the sensors can be turned ON and OFF via the Management Console and the Simulator.
Switching the Auto Update OFF allows you to force send values to the Remote Manager by clicking the button indicated below:
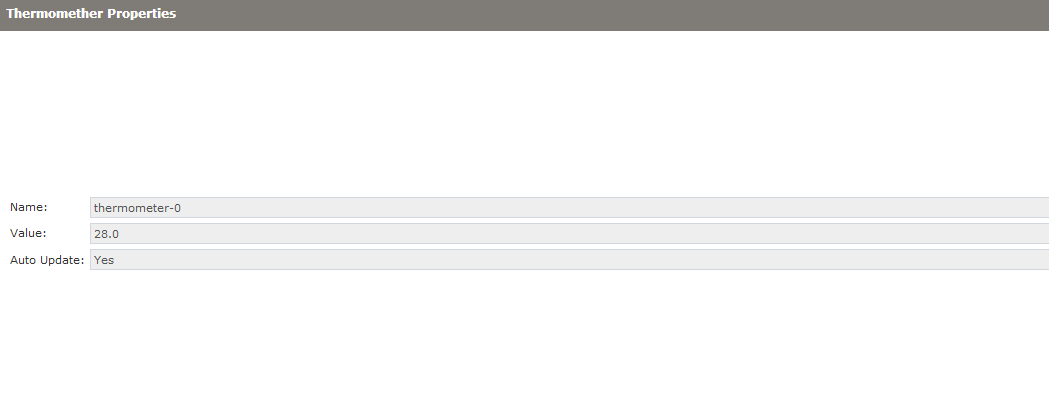
The values will be visible through the Management Console: