Upload files
To follow this page, your entry point is Bosch IoT Manager Console (Dashboard) > Rule Management perspective.
File upload between Bosch IoT Device Management and devices implementing the Uploadable function block (e.g. Bosch IoT Edge) can enable a variety of use cases related to device diagnostics and monitoring, as well as system backup and restore. The file upload functionality gives the ability to explicitly trigger uploads of various types of files such as texts, logs, videos, audio or images from the device to the cloud through Bosch IoT Manager, our solution's device management layer. Another added value is that with this new functionality operators will be able to view logs of all connected devices which support the Uploadable or AutoUploadable features from a single point.
See our BLOB upload conceptual page for more general information.
You already know how to create and trigger mass management rules via the Bosch IoT Manager UI. This guide will demonstrate how to use rules to initiate the upload of log files from a virtual device (running Bosch IoT Edge Services in our case) to Microsoft Azure. This guide will show you how should the Groovy script look like when using pre-signed URL and temporary credentials with both Azure and AWS, what are the needed arguments and once the upload has finished successfully how to download the files via the Bosch IoT Manager UI.
Device-side actions
Only devices that support the Uploadable or AutoUploadable features can upload files through this mechanism.
Bosch IoT Edge supports upload of OSGi and container log files out-of-the-box. This guide continues with a virtual device running Bosch IoT Edge with enabled Bosch IoT Edge Services.
Obtain the upload.exe executable, part of the Bosch IoT Edge Agent assembly. Learn how to configure it and its capabilities from the Bosch IoT Edge user documentation.
Create the rule
The mass management rule you create here will be triggered by an uploadRequest event coming from the device and will request the credentials or the pre-defined URL from the cloud storage infrastructure. By listening for uploadRequest events it triggers the actual upload from the device:
Enter the Rule Management perspective of the Bosch IoT Manager Web UI and click Create Management Rule.

On the first dialogue enter a user-friendly name and the Groovy script, which will be executed by the rule. In the screenshot below we are requesting a pre-signed URL from Azure thus we use AzurePresignedURLConfig.

As mentioned in the conceptual page, Bosch IoT Manager supports two types of credential configurations. Expand a Groovy script guide depending on your preferred credentials and cloud storage infrastructure:
Pre-signed URL request
Temporary credentials request
Combination of both type of credentials
Click Next.
On the next dialogue select the virtual device of your choosing. Remember it must have the Uploadable or AutoUploadable feature.

On the Rule Triggers step add an Event Based trigger and more specifically an UploadRequestEvent, as the rule will be listening for it.
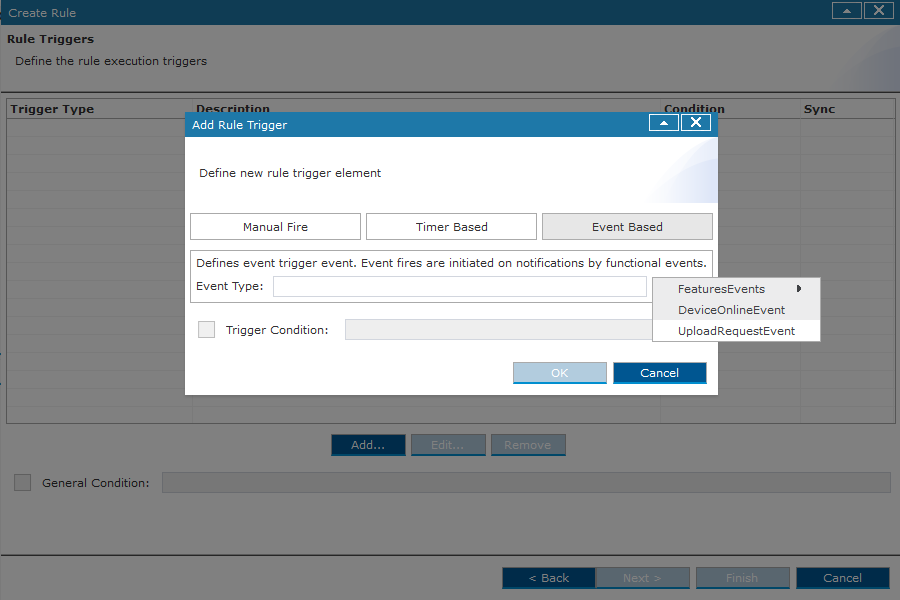
Click OK and then Next.
On the Execution Options step we do not need to make any other changes. So leave them as they are.

Click Finish and Enable the rule.

Monitor the rule execution and see the results
The upload process is initiated when the device sends an UploadRequest event and the event based trigger of your rule catches it. The rule will be fired and the log upload procedure will commence. See the flow of the procedure in our File upload conceptual page.
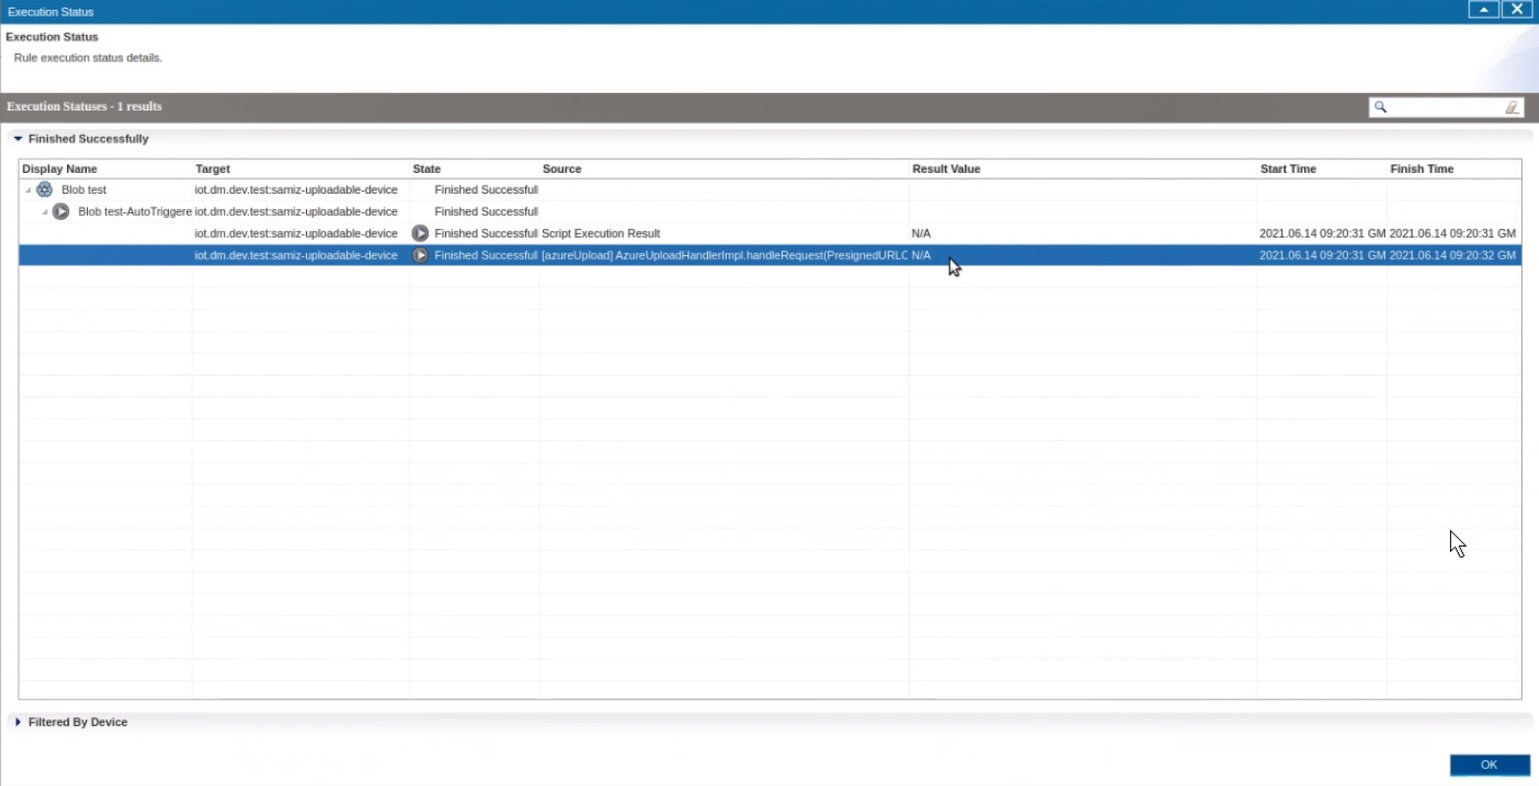
You can monitor the rule execution status through the Execution Status window.
You can also examine its execution info from the lastUpload property of the Uploadable feature of the device. The lastUpload property contains information about the current or the last executed upload.
Go back to the Device Management perspective.
Select the specific device and its Uploadable feature.
Within the Uploadable Properties panel that opens up (as shown in the screenshot below) see its lastUpload property.
It contains the correlationId, start and end time, state and status code.

A successful upload will allow you to download the actual uploaded object from the Bosch IoT Manager UI.
Download the file by clicking on the link here, as seen at the end of the screenshot above.
Initiate the upload from the backend
For diagnosing or monitoring purposes you may also trigger the device to send the UploadRequestEvent from the backend.
Go to the Device Management perspective and select the device of interest.
Select its uploadable feature.
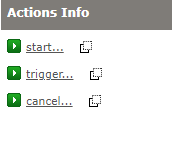
Click trigger from the Action Info panel. This will manually trigger the device to send an UploadRequest event to the backend.
This will trigger the rule that we created in the steps above and the necessary credentials will be requested from Azure or AWS.
To initiate the actual file upload execute the start action from the Actions Info.