Manage rules via the Mass Management Engine REST API
As you have access to the Bosch IoT Manager UI, the easy path would be to create and trigger the rules which remotely manage your devices using the UI.
However, if you think of a business application with a domain specific user interface, such an application would probably use the Bosch IoT Manager REST API instead.
In this step, you learn to create and fire a mass management rule through the Bosch IoT Manager REST API.
Goal
Send a POST request to create the rule via the Bosch IoT Manager REST API, enable the rule and fire it manually.
Once fired, the rule will send a GET request to an external endpoint and return the status code of the call.
Procedure
Authorize
The pop-up offers basic authentication.
Please, authenticate a Suite Auth token (same as created for Provisioning via Device Provisioning API)
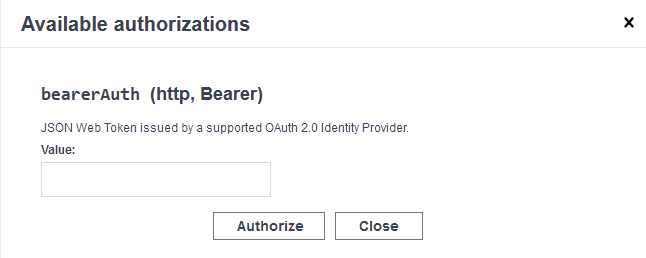
Close the pop-up.
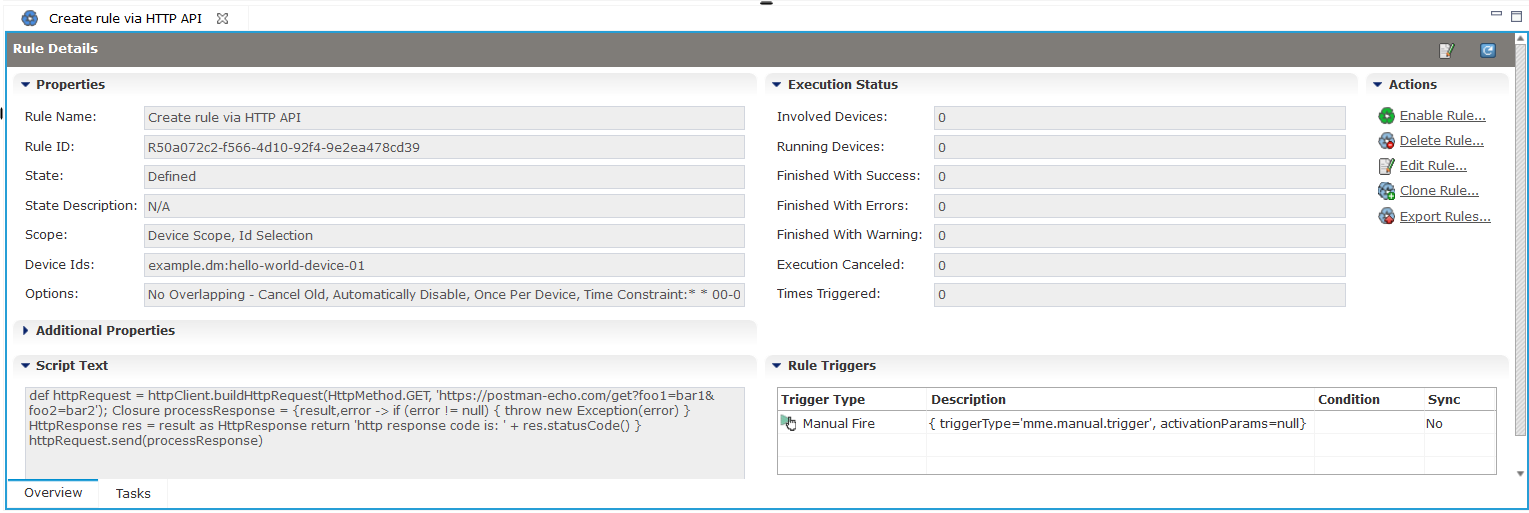
Create the rule
Navigate to POST /mme/rules.
Click Try it out - to get access to the input fields.
Follow the template of the request body to create your rule.
It must include all required fields - displayName, scope (deviceScope), trigger and action.{"displayName":"Create rule via HTTP API","scope": {"systemScope":false,"deviceScope": {"idSelection": {"deviceIds": ["example.dm:hello-world-device-01"]}}},"trigger": {"triggerElements": [{"triggerEvent": {"mode":"mme.manual.trigger"}}]},"options": {"overlapOption":1,"concurrencyLimit":0,"concurrencyTimeout":0,"oncePerDevice":true,"autoDisable":true,"timeConstraint":"* * 00-01 * * ?"},"action": {"actionType":"groovy","actionDef":"{\"groovyScript\":\"def httpRequest = httpClient.buildHttpRequest(HttpMethod.GET, 'https://postman-echo.com/get?foo1=bar1&foo2=bar2'); Closure processResponse = {result,error -> if (error != null) { throw new Exception(error) } HttpResponse res = result as HttpResponse return 'http response code is: ' + res.statusCode() } httpRequest.send(processResponse)\"}"}}Execute
The response code 201 indicates that the rule has been successfully created and returns the ID of the rule.
The Response body contains the rule ID, in our example "R50a072c2-f566-4d10-92f4-9e2ea478cd39".
Check your work
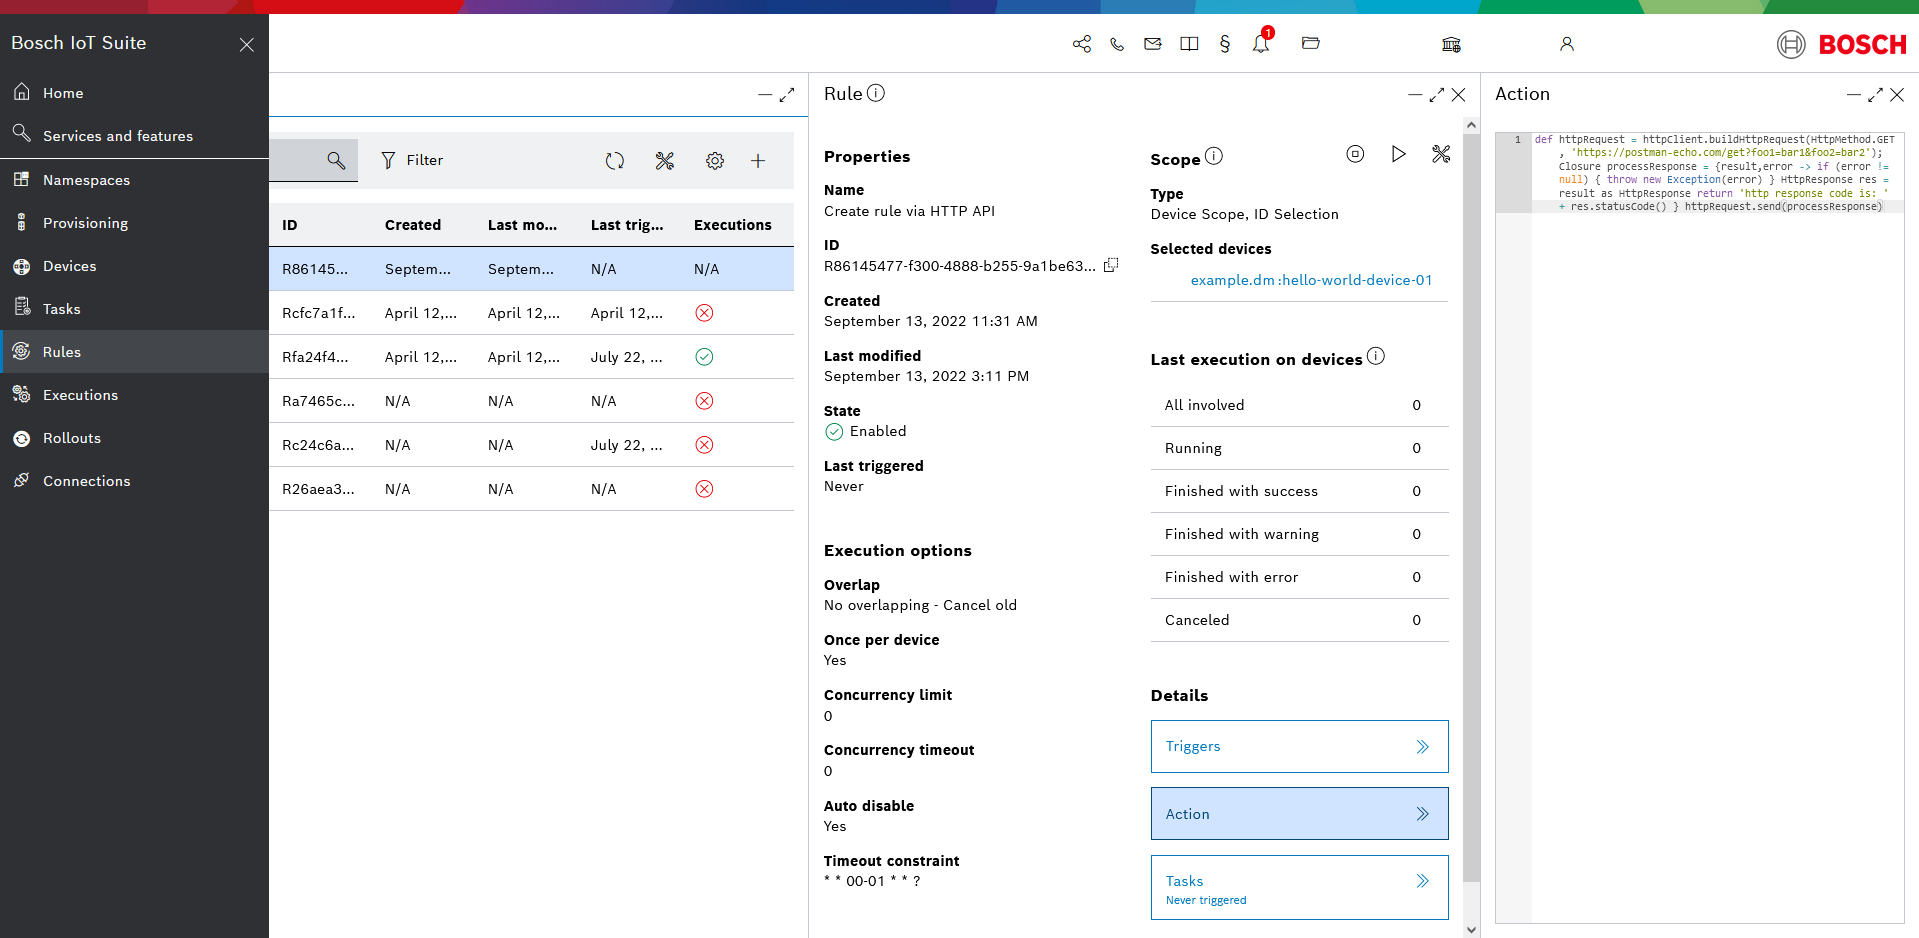
Once the rule is created you will be able to see it in:
the Bosch IoT Manager UI
in the Bosch IoT Suite UI
Enable the rule
Creating the rule via the Manager REST API will not enable it automatically, so you need to enable it with another request.
Go to PUT/mme/rules/{ruleId}/state.
Paste the rule ID you have received as a response body from your create request (without the quotes) into the respective field.
Select the state option ENABLE.
Execute.
The response code 204 indicates that the rule state has been successfully changed.
Fire the rule
Once the rule is enabled you can fire the rule manually, as we've created it with a manual trigger:
Go to PUT/mme/rules/{ruleId}/tasks.
Paste the rule ID you have received as a response body from your create request (without the quotes) into the respective field.
Execute.
The response code 204 indicates that the rule has been successfully fired.
Tips for debugging
Please check if the change has be applied.
Be aware that the Groovy script must be e valid JSON string, so it may be a good idea to validate it first!
In case the request body for creating the rule contains options, you must also specify a concurrencyLimit and a timeConstraint, as they are required.