Manage attributes via Hub HTTP API
In general, the digital twin layer regards attributes as something that does not change very often.
However, by default you should be allowed to read and write attributes. See Examples > Policy examples > Initial policy.
Goal
Let us assume, your device hello-world-device-01 already has manufacturer attributes (like created in section Manage attributes via Bosch IoT Suite UI), and you want to add further attributes, or change a value.
Procedure
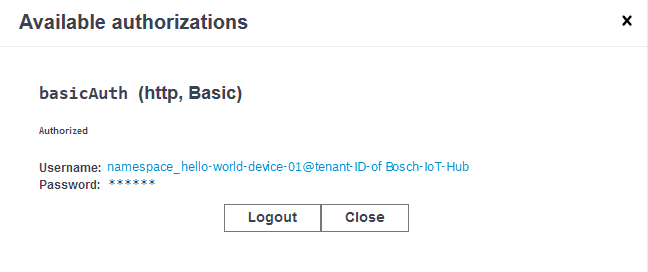
Authorize
The pop-up offers basic authentication.
In this example, you will mimic the hello-world-device.
Therefore, please authenticate with:
the username auth-ID@Hub-tenant-ID and
the password
as you have set them at the start, in the provisioning.
You can copy the Username from the Bosch IoT Suite console.
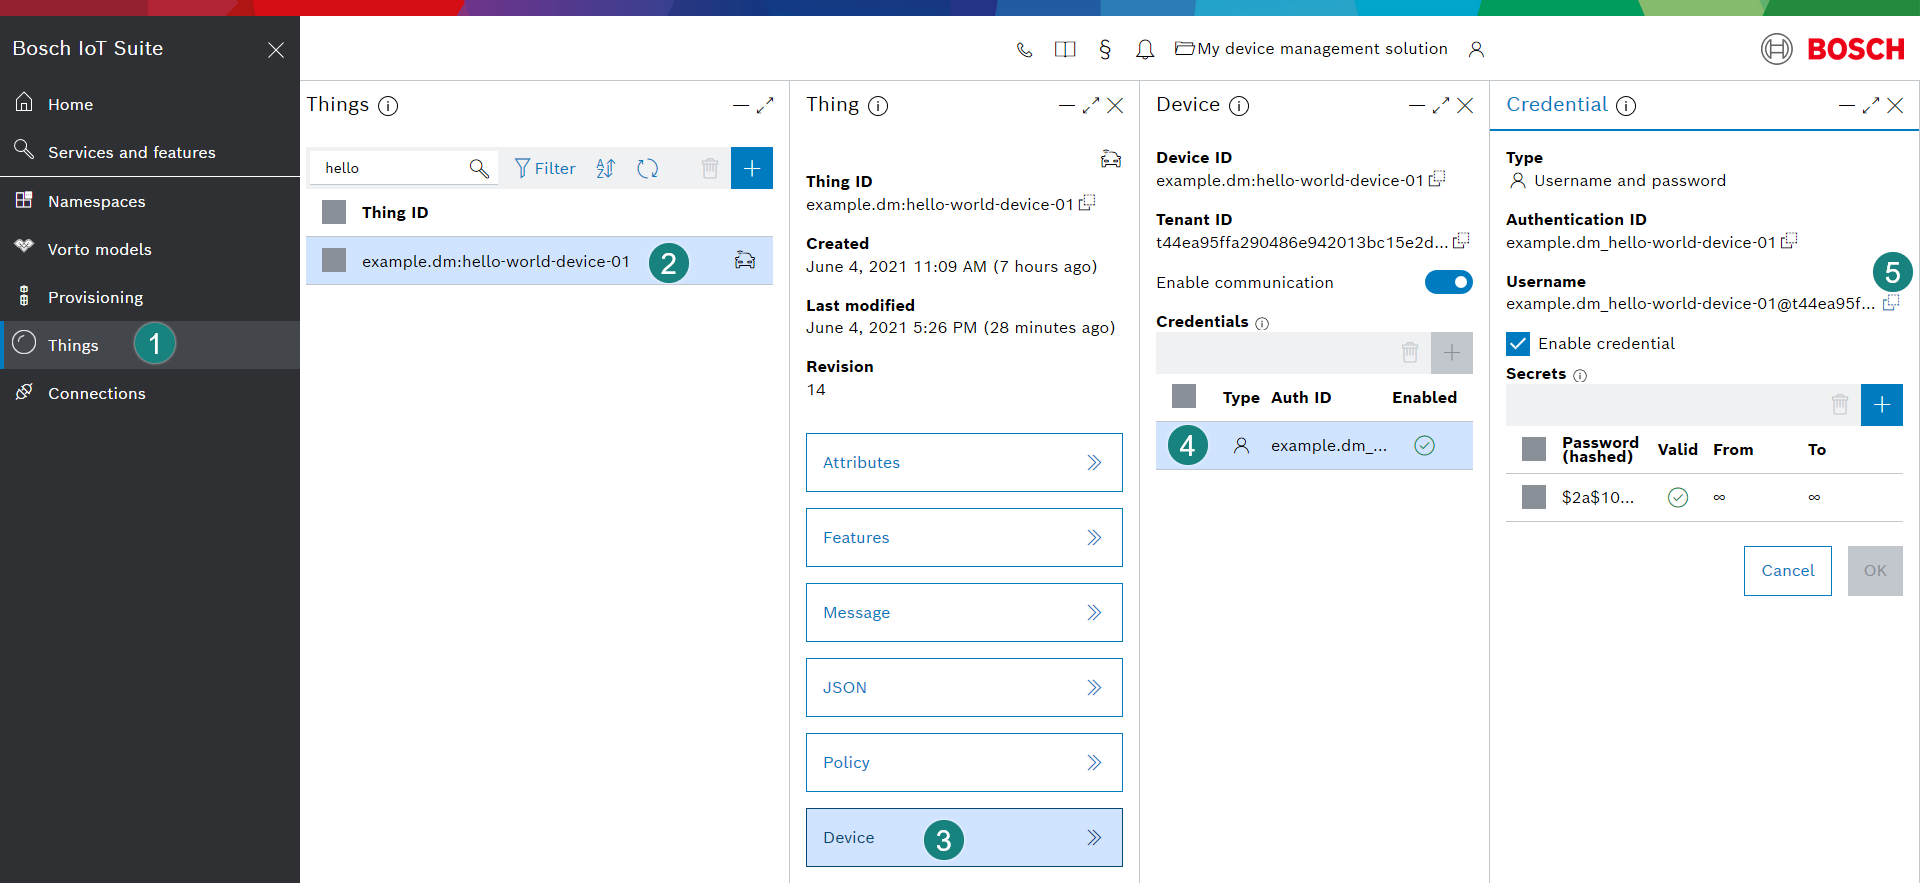
Navigate Things > hello world > Device > Credentials, from there you can copy the Username to the clipboard and use it in the Authorization pop-up at the HTTP API docs.
Close the popup.
Publish telemetry data
Navigate to POST /telemetry.
Click Try it out - to get access to the input fields.
Setting the QoS-Level (Quality of Service) for publishing telemetry messages is optional and can stay empty.
Setting the hono-ttd (time ‘til disconnect) is optional and can stay empty.
Set the Request body.
The type must be application/json.
The content must respect the thing's notation.
In our case the request body looks like this:{"topic":"xxx-add-your-namespace-xxx/hello-world-device-01/things/twin/commands/modify","path":"/attributes/manufacturer/","value": {"name":"ACME demo corp.","location":"London","serialno":"420","model":"fancy"}}Make sure to replace "xxx-add-your-namespace-xxx" with your own namespace.
To learn more about the protocol see https://www.eclipse.org/ditto/protocol-examples-modifyattributes.html.
Click Execute.
The response code 202 shows success.
Result
The changes are forwarded via the managed connection to the digital twin layer.
Check your work
The easiest way to see if setting a new serialno succeeded is to open the Attributes section in Bosch IoT Suite Console.
In case you see no manufacturer attributes at all, retry the request above with a merge command (instead of put).
In our example the Request body would be different:
Type for am merge request is application/merge-patch+json.
The content is with a different topic (merge instead of modify).
{"topic":"xxx-add-your-namespace-xxx/hello-world-device-01/things/twin/commands/merge","path":"/attributes/manufacturer/","value": {"name":"ACME demo corp.","location":"London","serialno":"420","model":"fancy"}}
See further Eclipse Ditto examples at https://www.eclipse.org/ditto/protocol-examples-mergeattributes.html.
Tips for debugging
In case the response is 202 but the digital twin layer still cannot "digest" the data, you can trace at the connection how the payload looks like when it arrives at the digital twin layer.
Therefore, please check if the change has be applied.
From the Bosch IoT Console navigate to Connections/Integrations
Make sure the icon for the connection called Device via Bosch IoT Hub is plugged. In case it is unplugged open the connection and re-try to send the request from Bosch IoT Hub.
The tab Metrics might display numbers in a "failure" cell. In such a case, activate the Log entries and Refresh automatically.
Re-try the POST request and see the detailed failure message, which might give a hint on what went wrong.